How to Transfer Data Between Devices: A Step-by-Step Guide
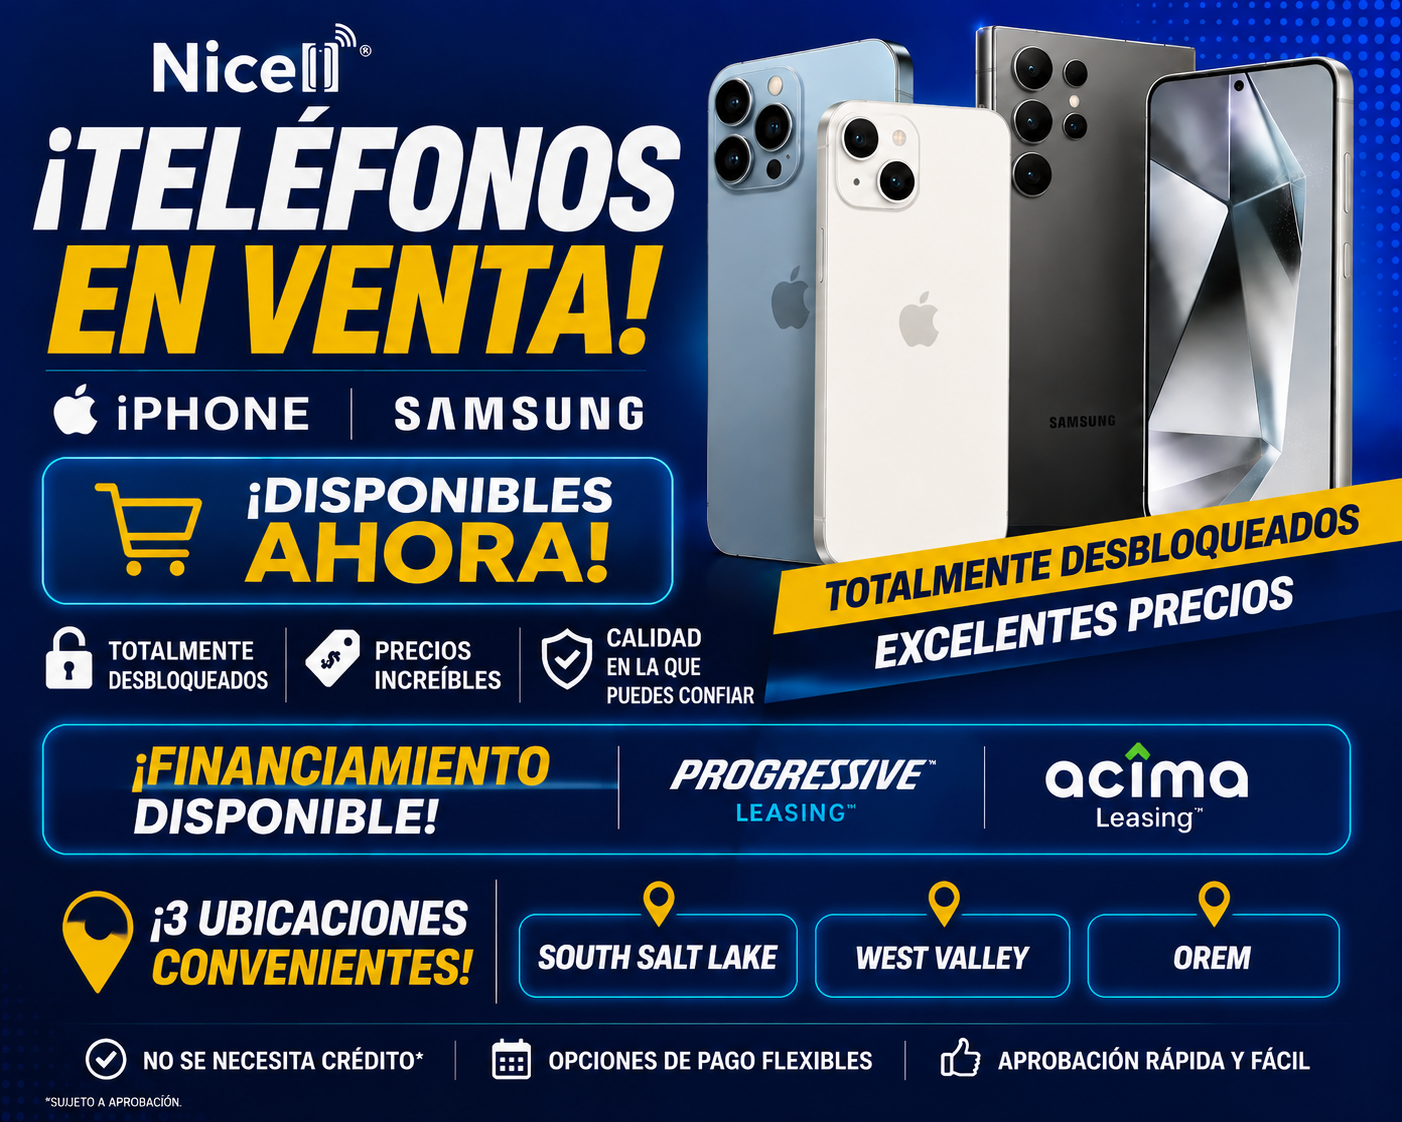
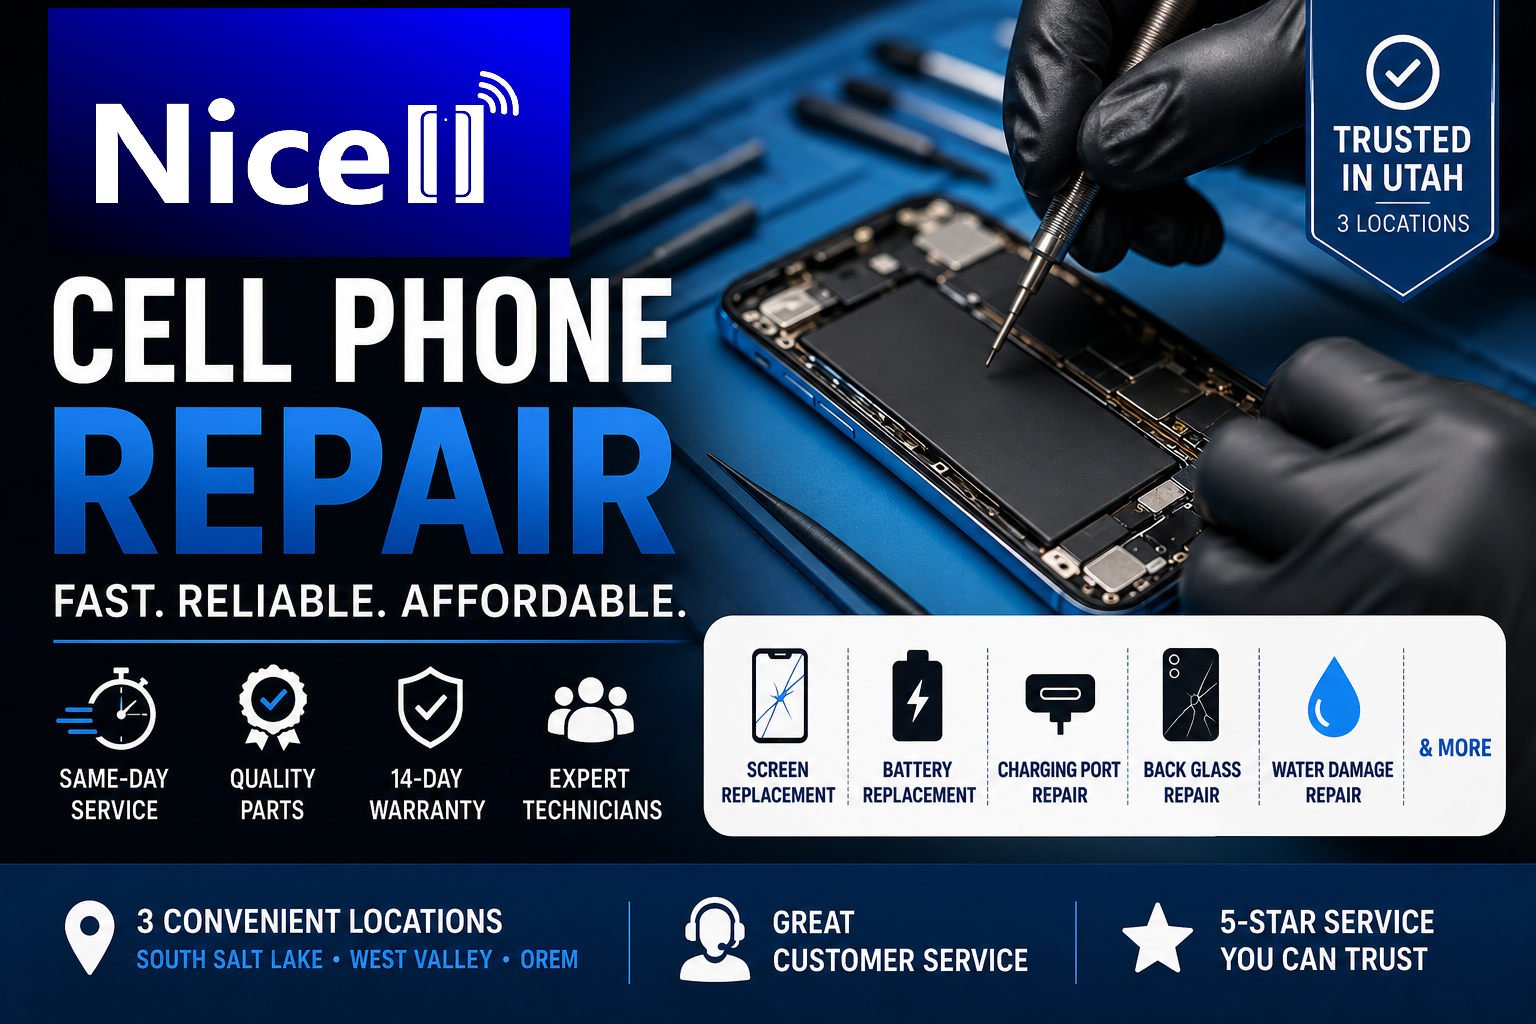
Are you struggling to transfer data between your devices? Whether you’re upgrading to a new phone, switching to a new laptop, or simply need to consolidate and organize your files, transferring data can be a daunting task for many. At Nicell Wireless, your go-to Salt Lake City cell phone repair company, we understand the importance of seamless data transfers. That’s why we’re here to guide you through the process with this easy step-by-step guide.
Step 1: Determine the Data to Transfer
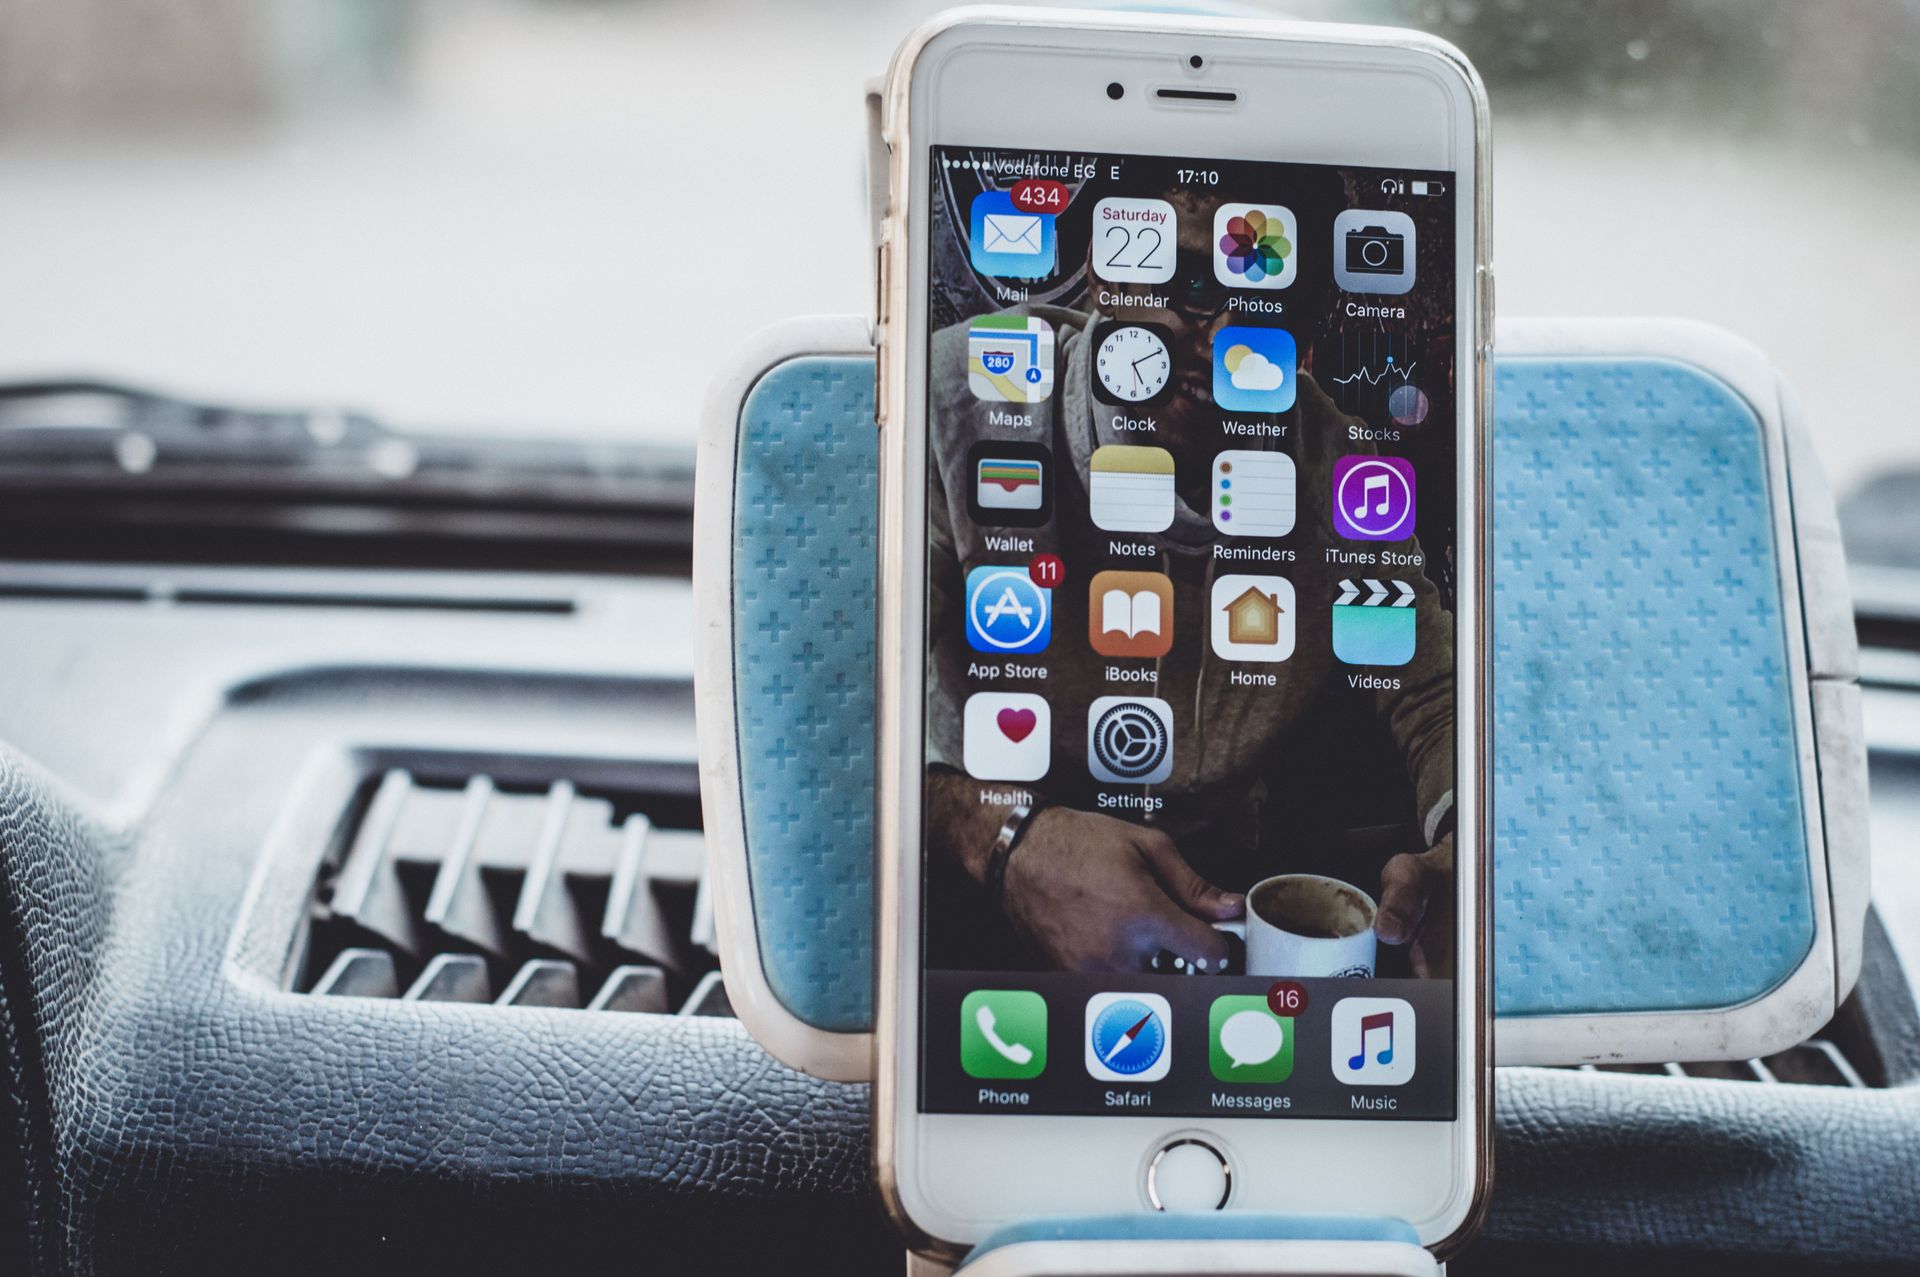
Before starting the transfer process, it’s essential to decide on the data you want to transfer. This can include photos, videos, music, documents, contacts, messages, and more. Take some time to review your files and make a list of what needs to be transferred to ensure a smooth and efficient process.
Step 2: Choose the Right Transfer Method
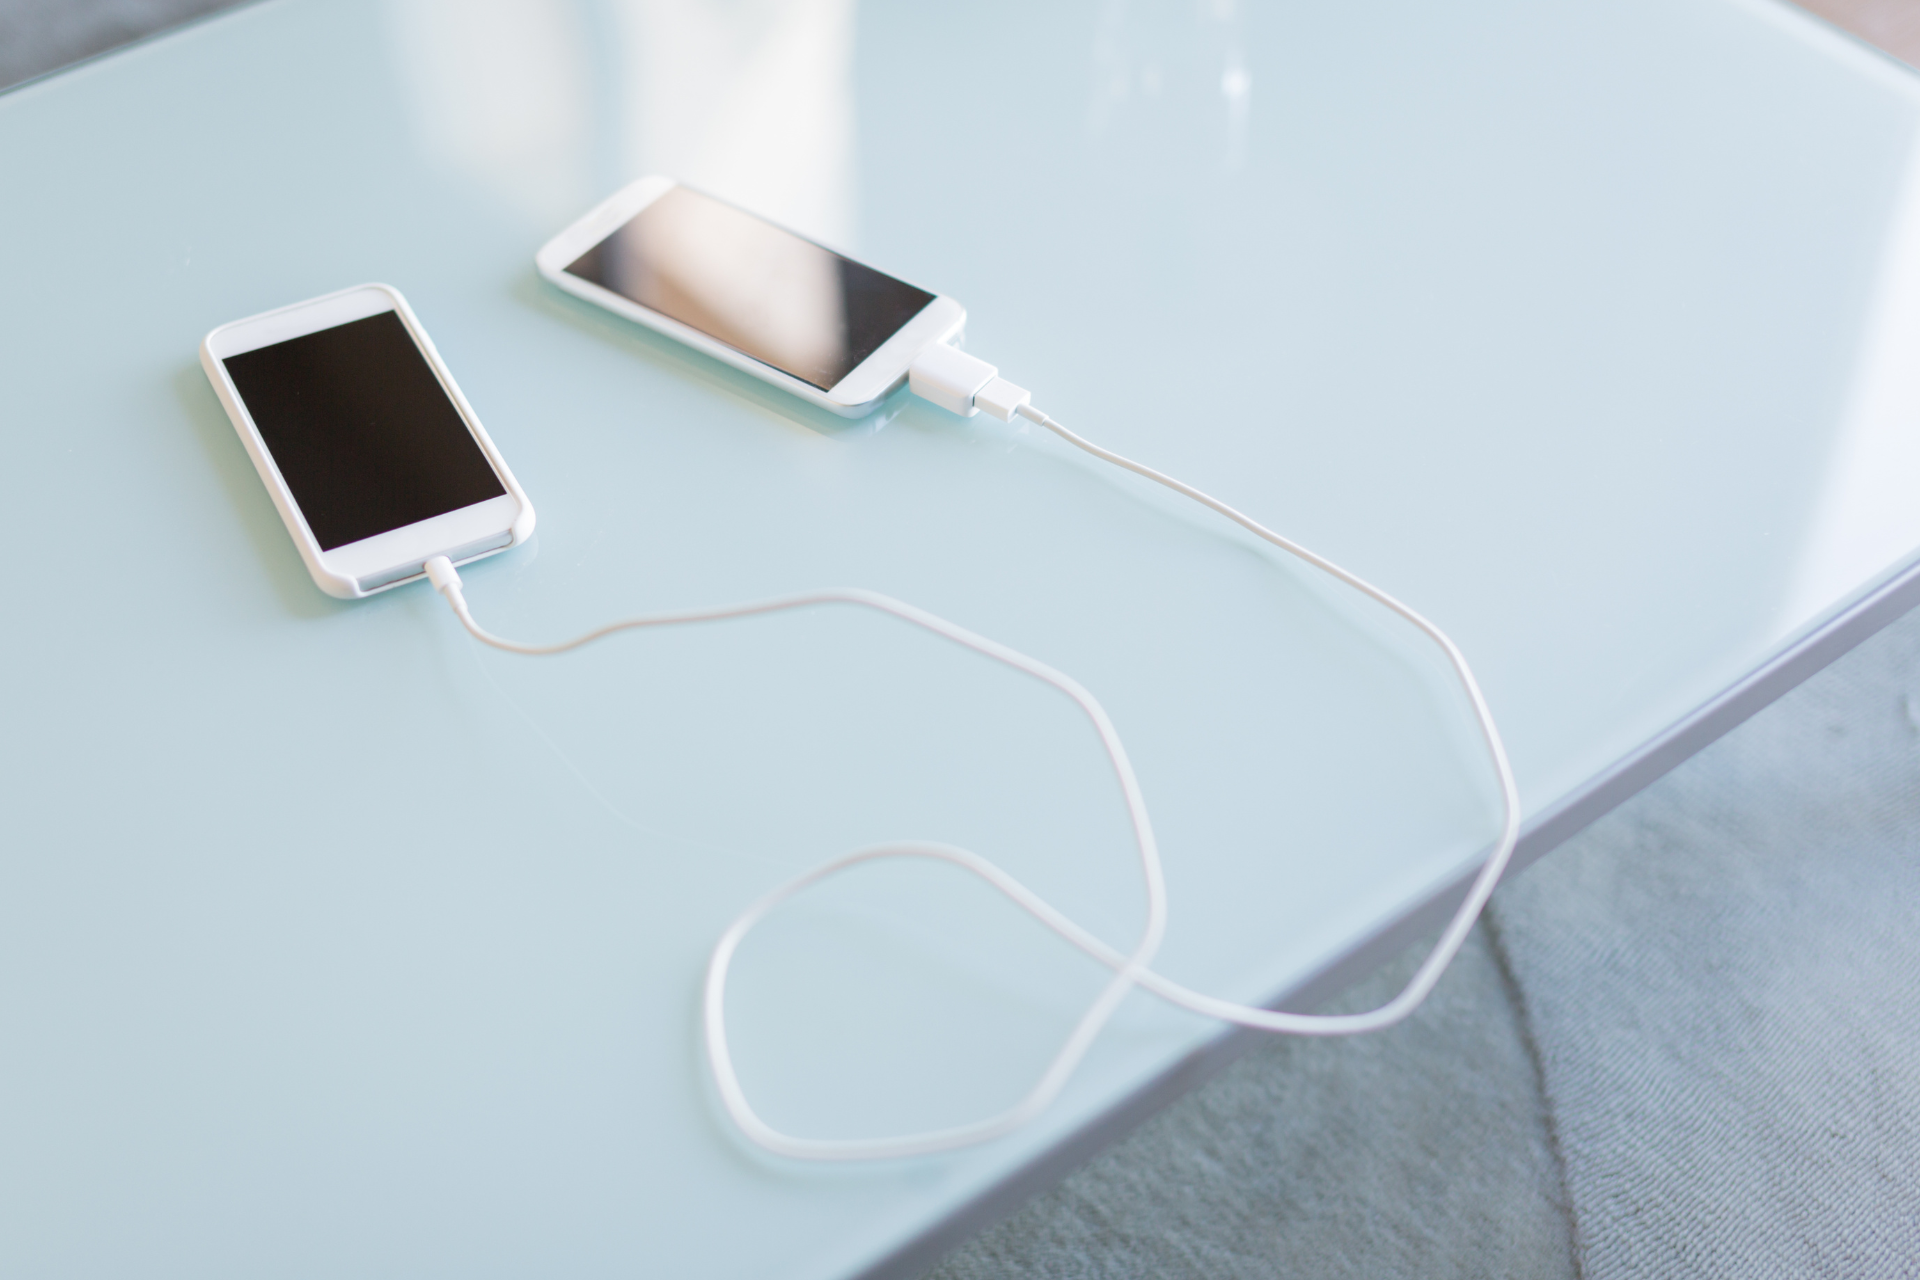
There are several ways to transfer data between devices, depending on the type of devices you are using. Common methods include using a USB cable, cloud storage services, Bluetooth, or specialized data transfer apps. Select the method that best suits your devices and the amount of data you need to transfer.
Step 3: Transfer Data Between Devices
Let’s dive into the specifics of transferring data between different types of devices:
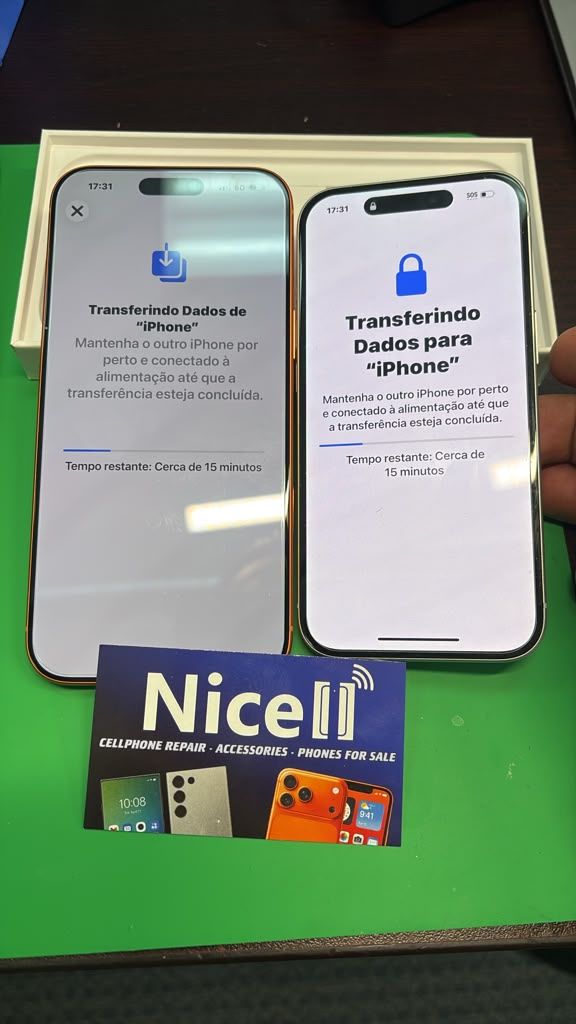
1. Transferring Data Between iPhones:
- Use iCloud to sync and transfer data such as photos, contacts, and documents.
- Connect your old iPhone to Wi-Fi and iCloud before setting up your new iPhone to ensure a smooth transfer.
- Use AirDrop for quick file transfers between two iPhones in close proximity.
2. Transferring Data Between Android Phones:
- Use Google Drive or other cloud storage services to back up and transfer your data.
- Connect your old Android phone to a PC via USB to transfer files directly.
- Use Google’s Smart Switch app to transfer data from an old Android phone to a new one.
3. Transferring Data Between iPhones and Android Phones:
- Use third-party apps like SHAREit or Xender to transfer data wirelessly between different devices.
- Transfer contacts by exporting them to a VCF file and importing them on the new device.
- Use email or messaging apps to send individual files or documents between devices.
Step 4: Verify the Transfer
Once the data transfer is complete, take a moment to verify that all your files have been successfully transferred to the new device. Check photos, contacts, messages, and other important data to ensure nothing is missing.
Step 5: Organize and Backup Your Data
Now that your data has been successfully transferred, it’s essential to organize and back up your files regularly. Create folders, delete duplicates, and set up automatic backups to prevent data loss in the future.
In conclusion, transferring data between devices doesn’t have to be a complicated process. By following the step-by-step guide provided by Nicell Wireless, your trusted Salt Lake City cell phone repair company, you can seamlessly transfer your data and enjoy your new device hassle-free. If you encounter any issues during the data transfer process or need expert assistance, don’t hesitate to reach out to Nicell Wireless for professional cell phone repair services and helpful advice. Happy transferring!