How to Repair a Broken Laptop Hinge: A Step-by-Step Guide
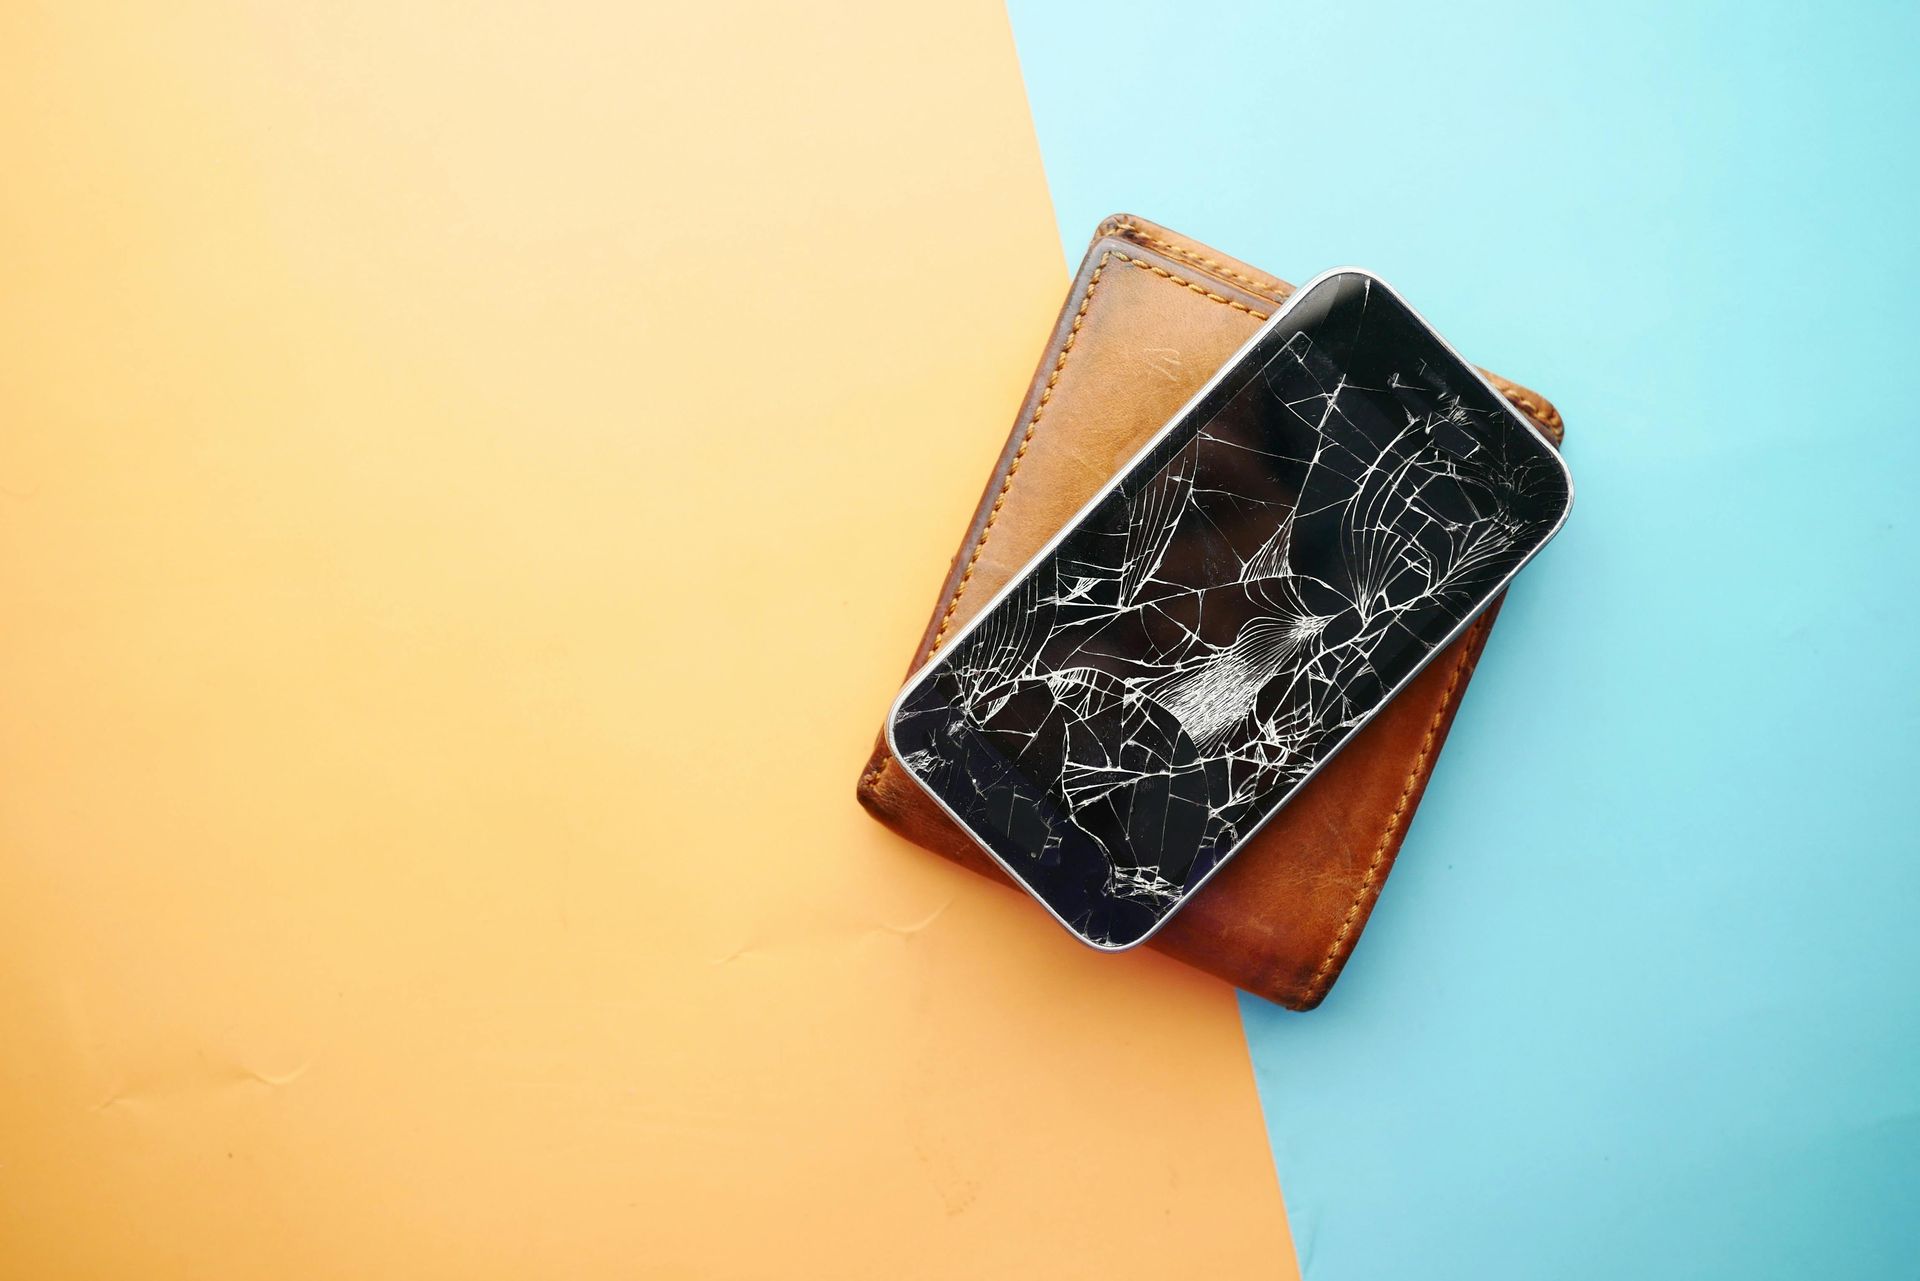
If you've ever had a laptop that's more bendy than it should be, then you know how frustrating a broken hinge can be. These vital components allow you to open and close your device smoothly, and when they break, using your laptop can become a real challenge. No need to worry, though! At Nicell Wireless, we're here to guide you through the process of repairing a broken laptop hinge, so you can get back to your work (or binge-watching your favorite series) in no time.
What You'll Need
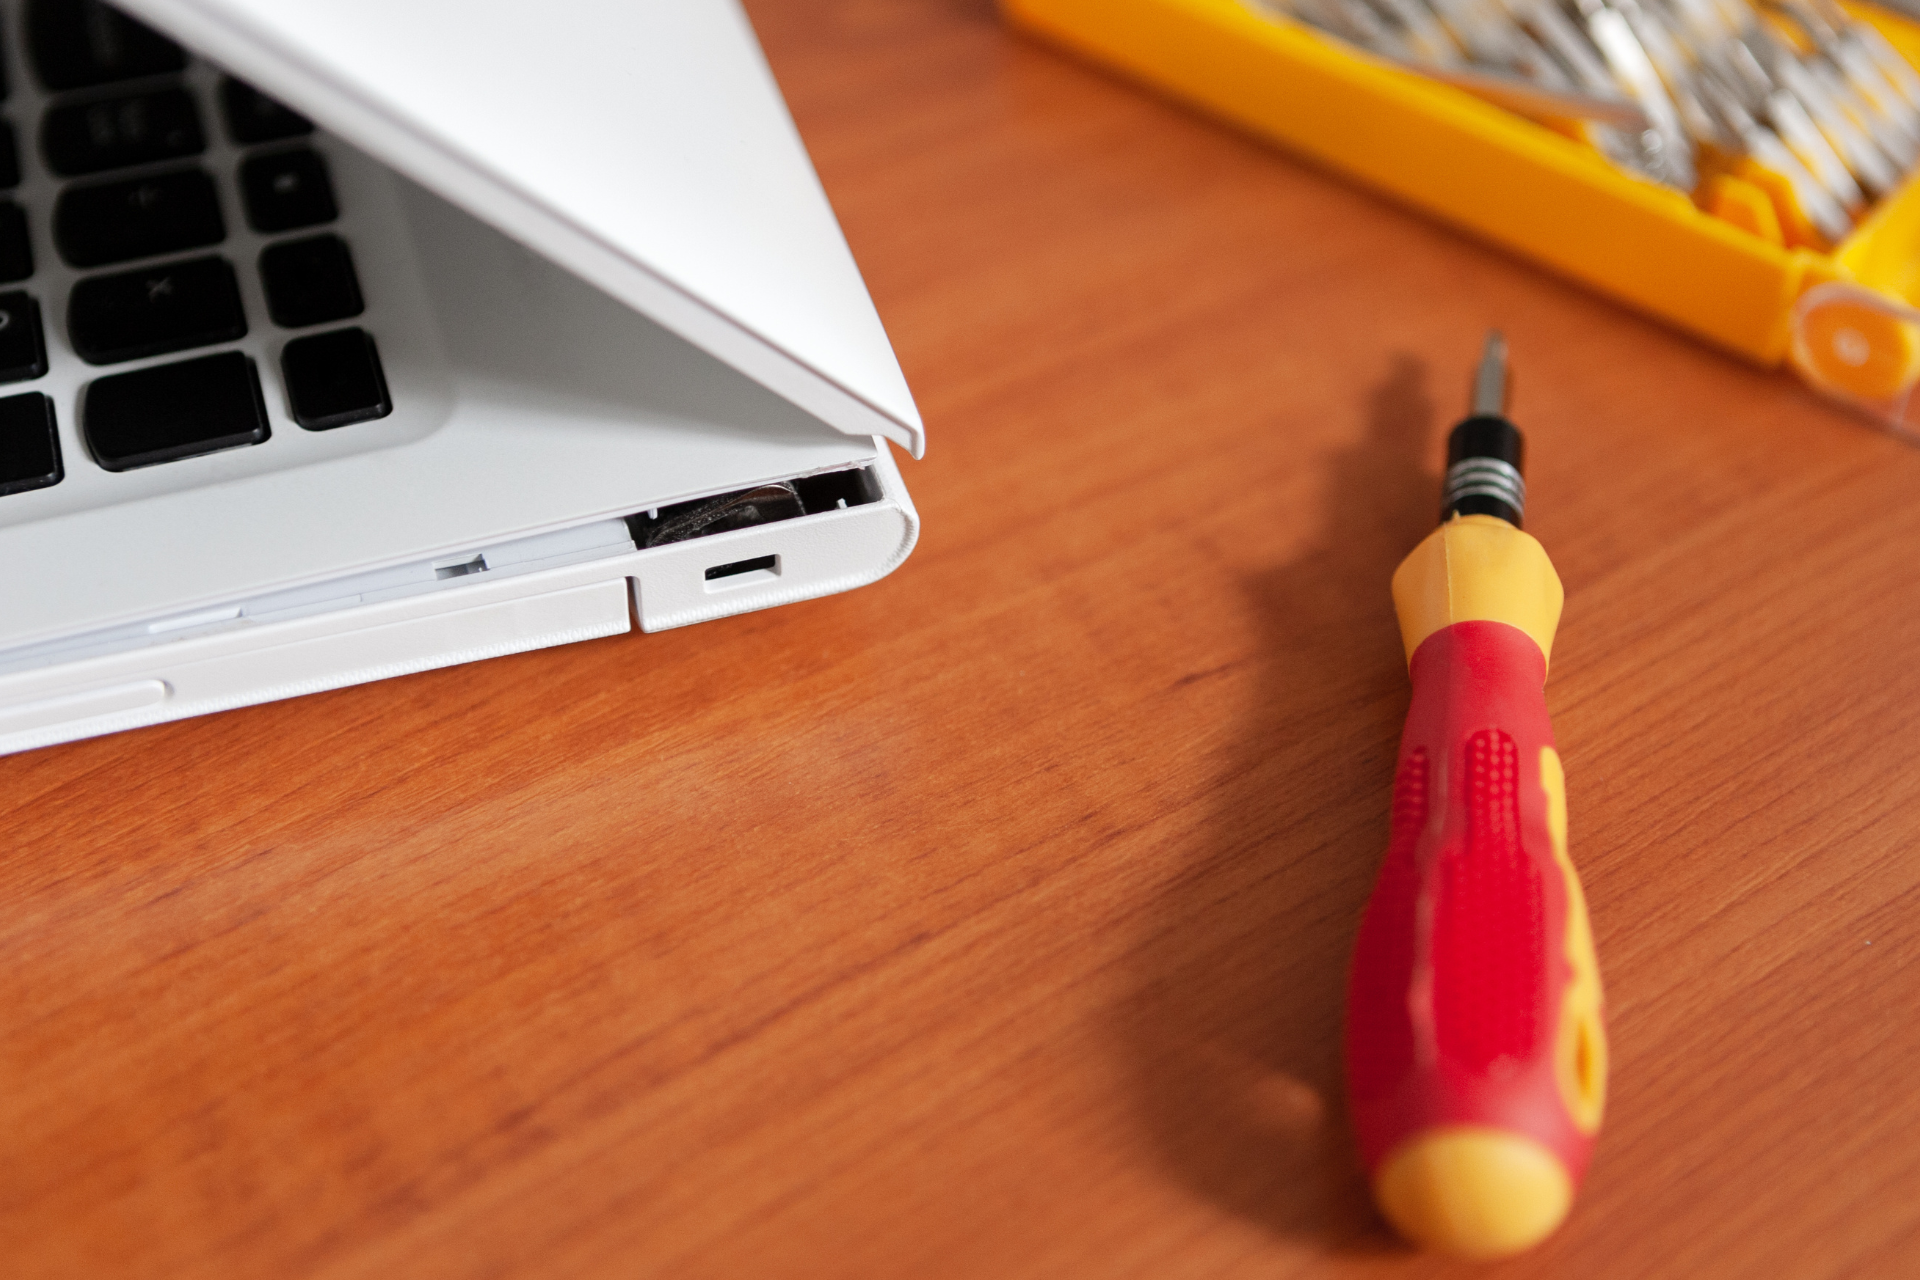
Before diving into the repair, gather these tools:
- A small screwdriver set
- Replacement hinge (specific to your laptop model)
- Plastic prying tools
- Super glue (for minor repairs)
- A soft cloth to keep your workspace scratch-free
- Patience and steady hands
Step 1: Power Down and Remove the Battery
Your first step is to power down your laptop and unplug it. If your model has a removable battery, take that out as well. Safety is key here—nobody wants a surprise spark!
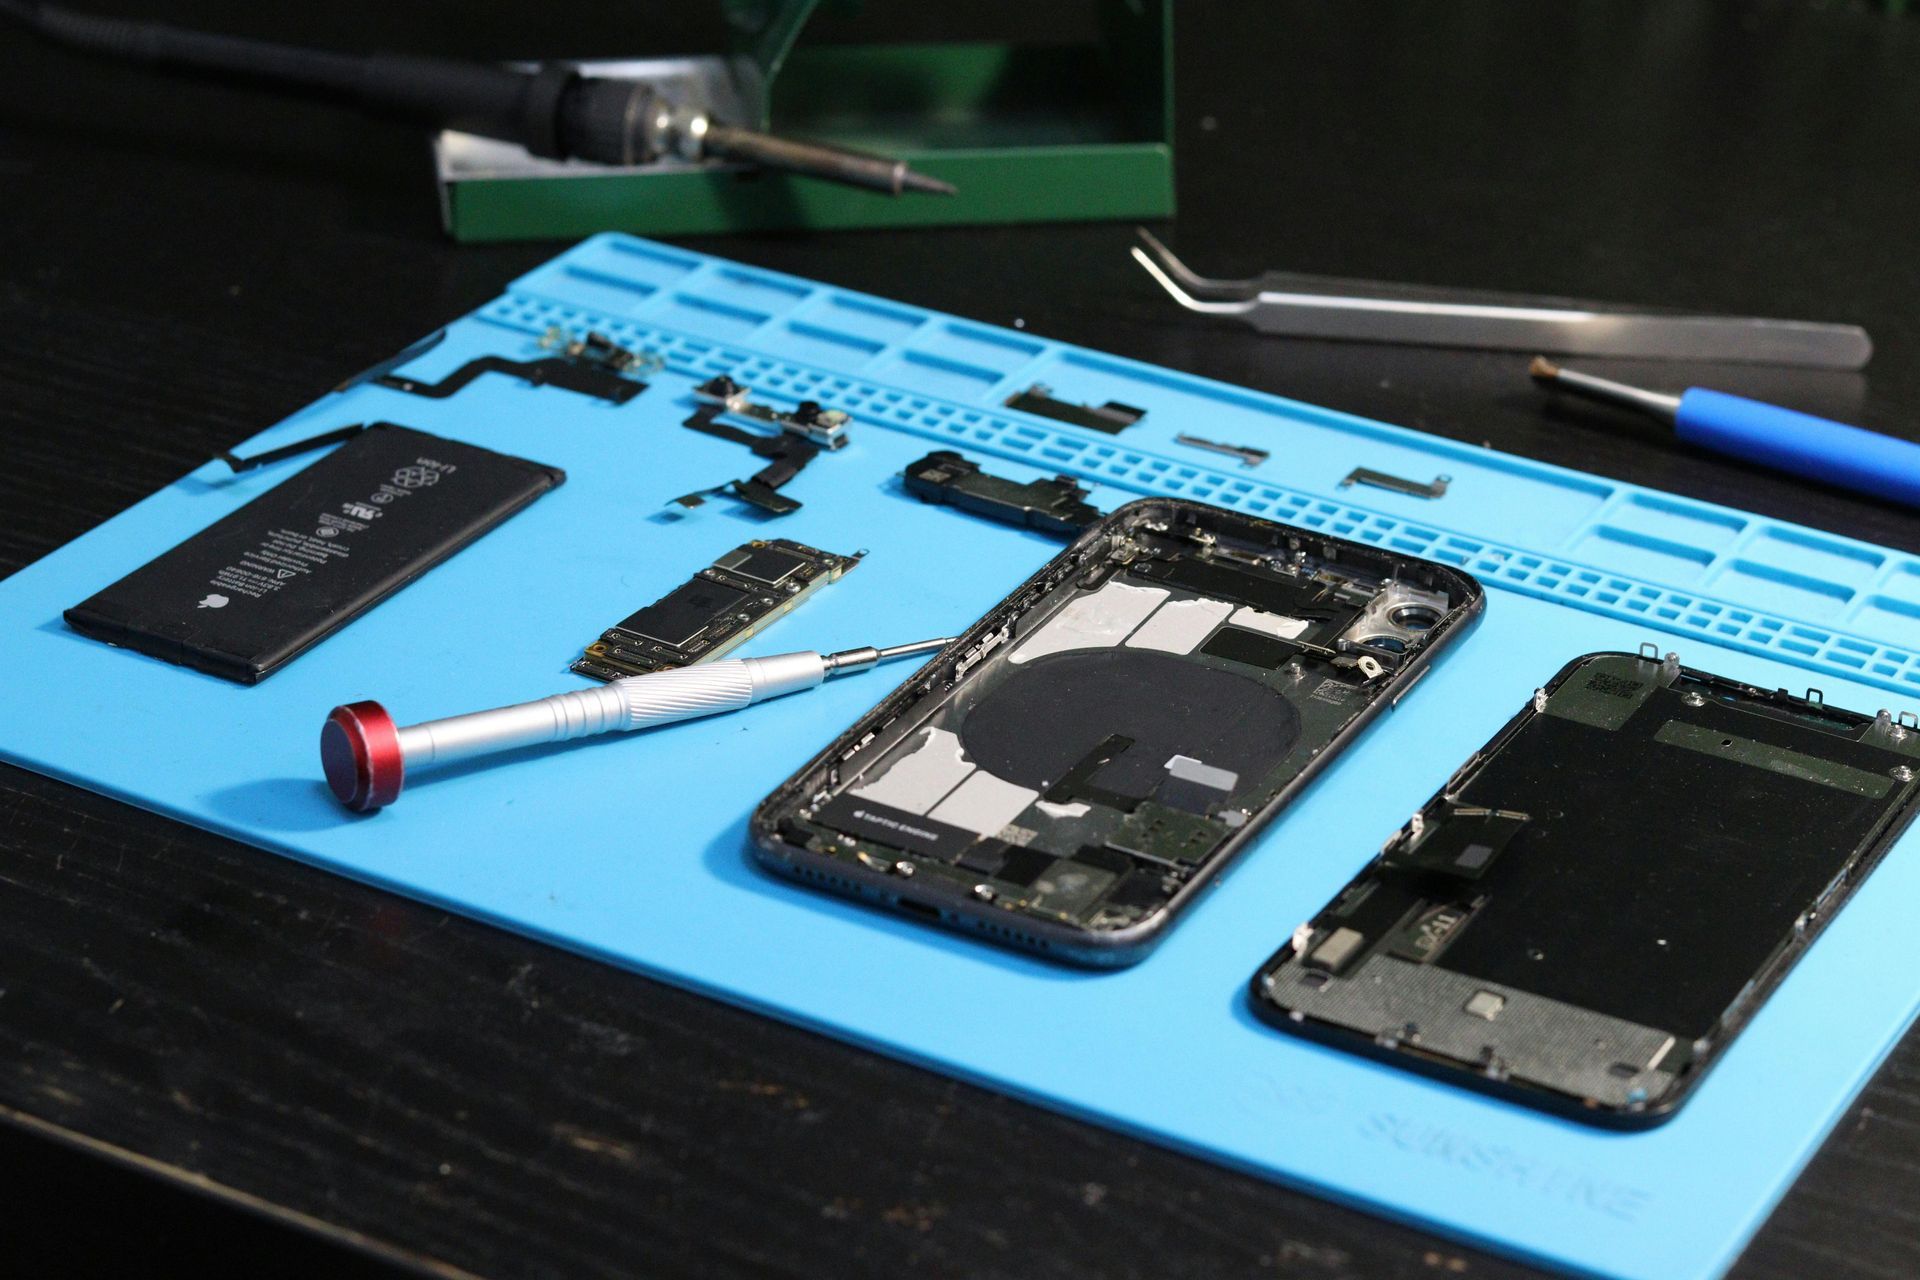
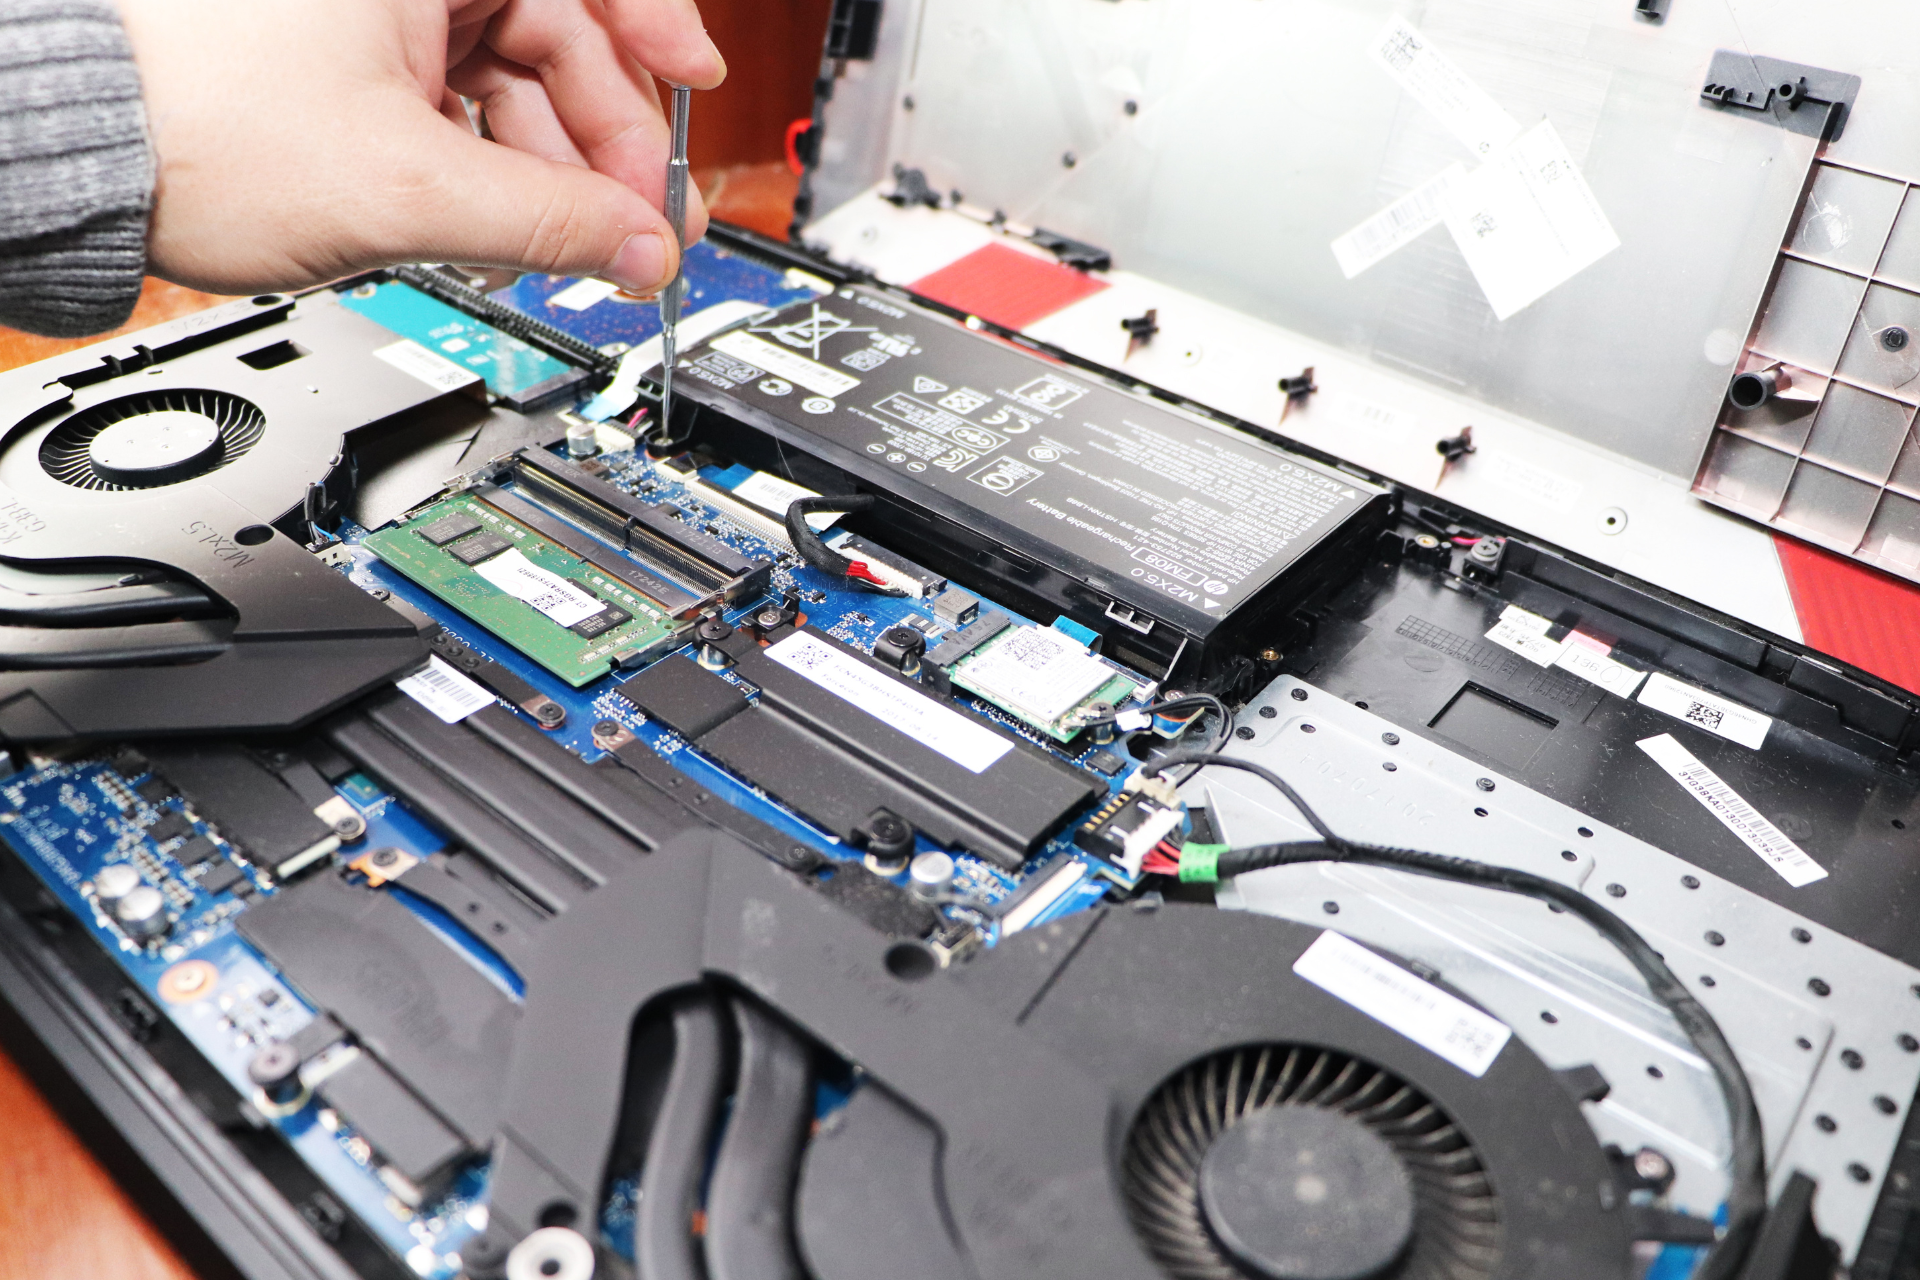
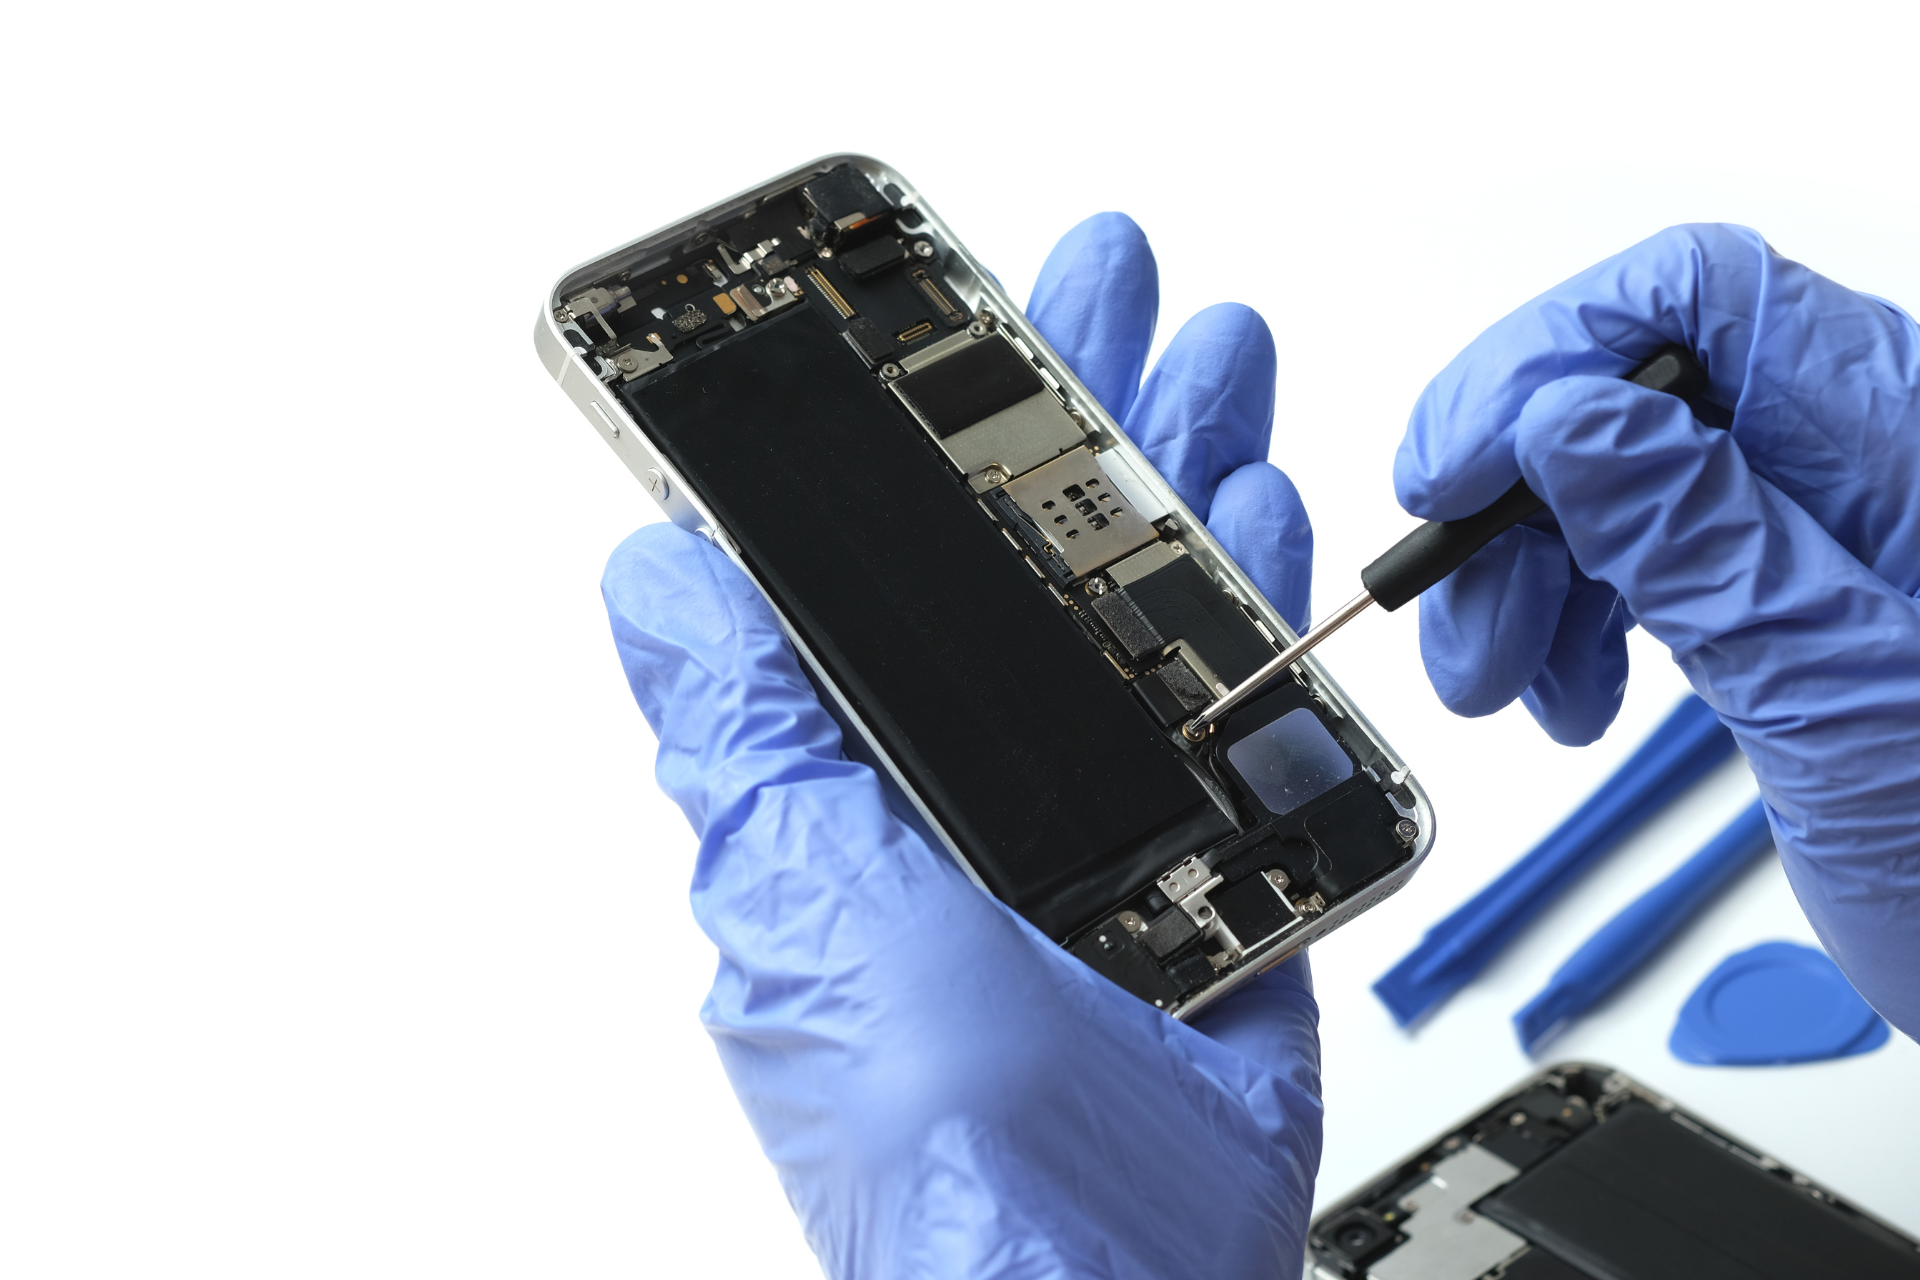
Step 2: Disassemble the Laptop
Using your small screwdriver, carefully remove the screws on the back panel of your laptop. Make sure to keep track of which screws go where; labeling them can save a lot of headaches later! Once the screws are out, gently use your plastic prying tool to lift the back cover off.
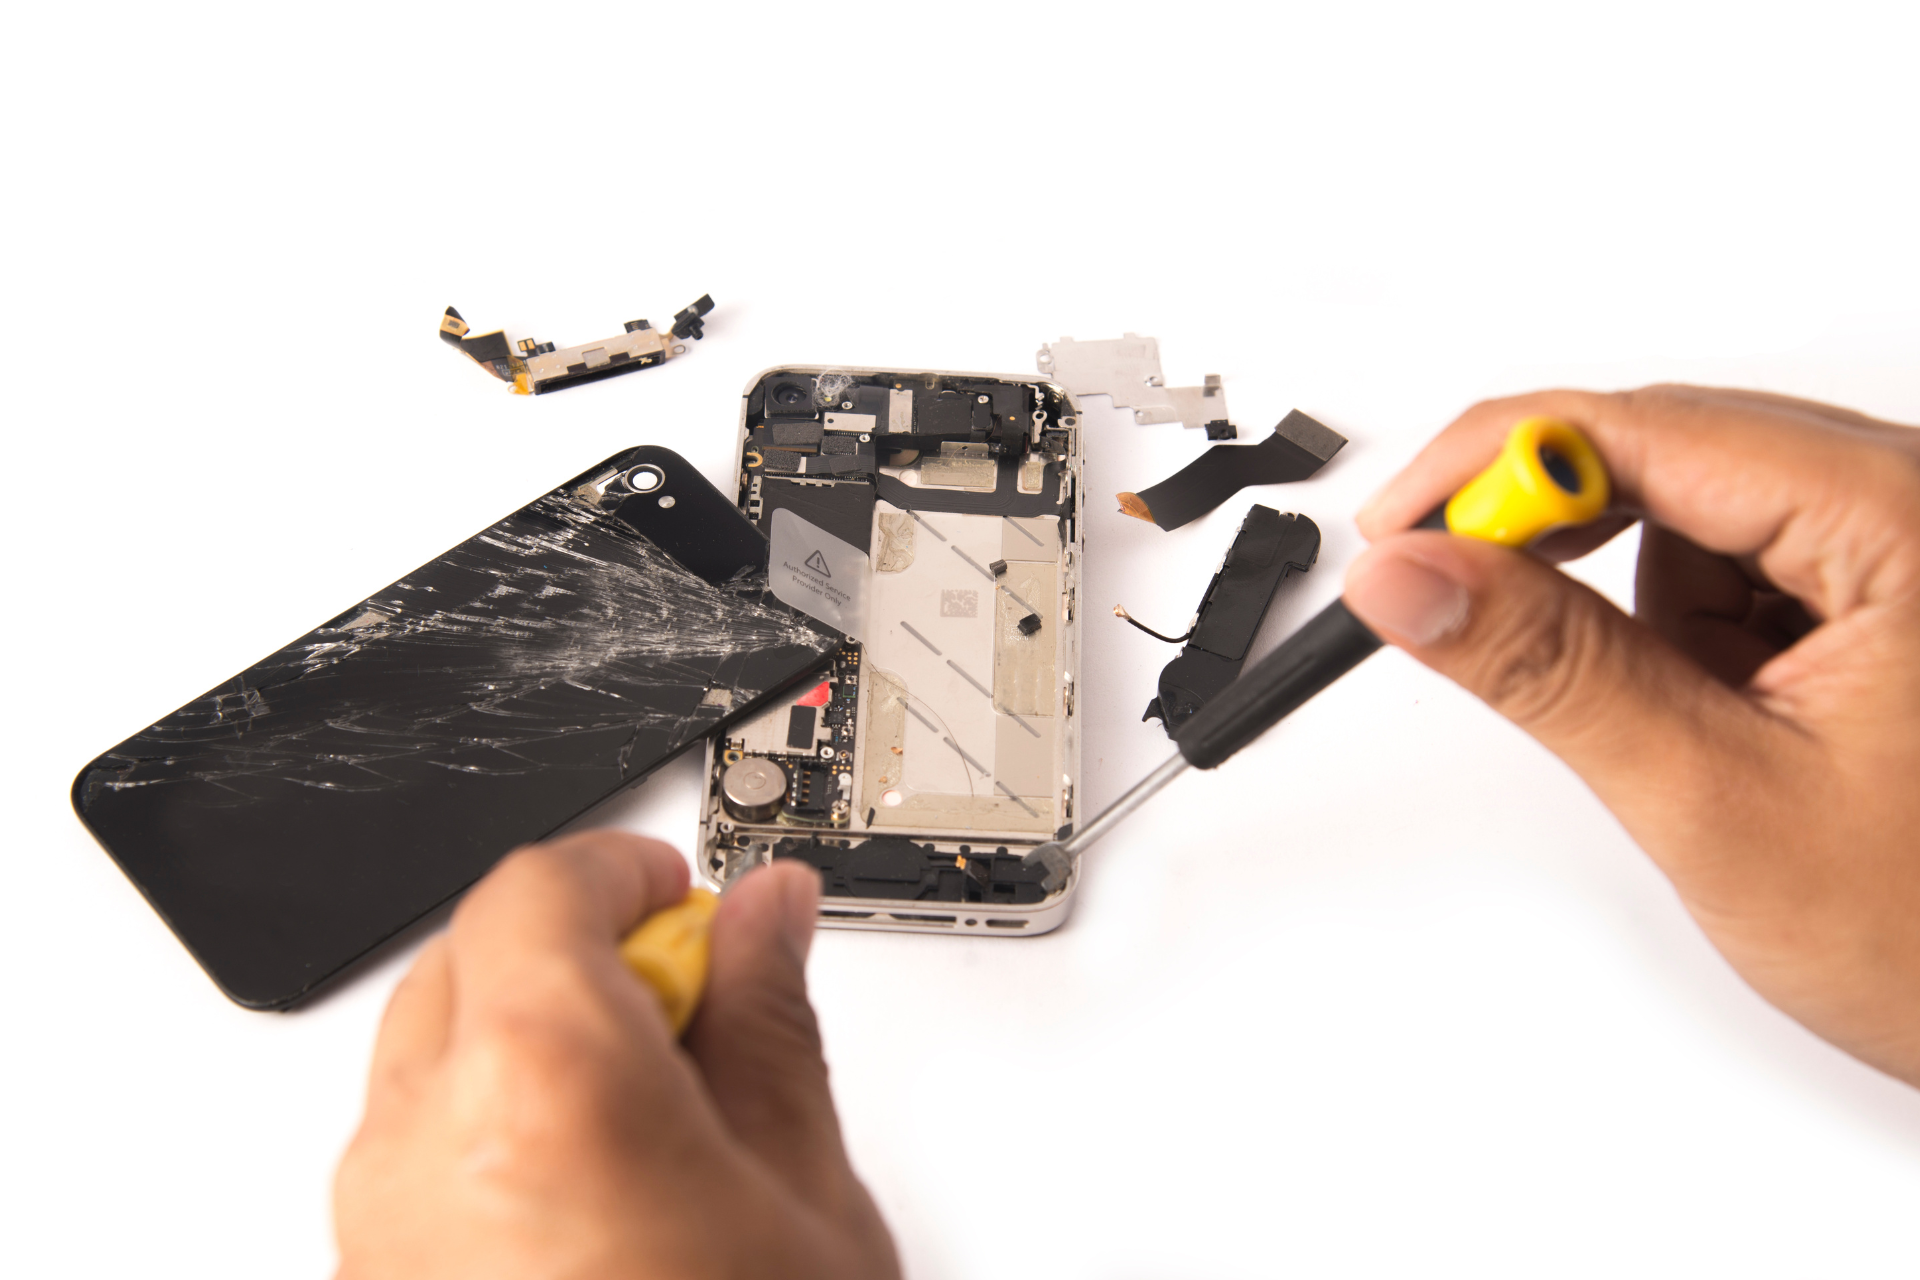
Step 3: Assess the Damage
Take a moment to evaluate the broken hinge. Is it a simple break, or has it caused further damage to the surrounding areas? If the hinge is just detached, it might be a straightforward fix. If parts are missing or the plastic housing is cracked, you may need an entirely new hinge assembly.
Step 4: Replace the Hinge
If you've opted for a new hinge, this is the time to install it. Line up the new hinge with the mounting points and secure it using your screwdriver. For minor fixes, applying a tiny bit of super glue to the break can help, but be careful not to overdo it—you don't want glue blocking any moving parts!
Step 5: Reassemble the Laptop
Once the hinge is secure, replace the back panel of your laptop. Make sure all clips snap back into place, then carefully screw it back together, ensuring that each screw is in its original location.
Step 6: Test Everything Out
Before you get too excited, it’s time to test your work. Reinsert the battery, power up your laptop, and open and close the screen a few times. If everything feels secure, congratulations! You’ve just repaired your laptop hinge.
When to Seek Professional Help
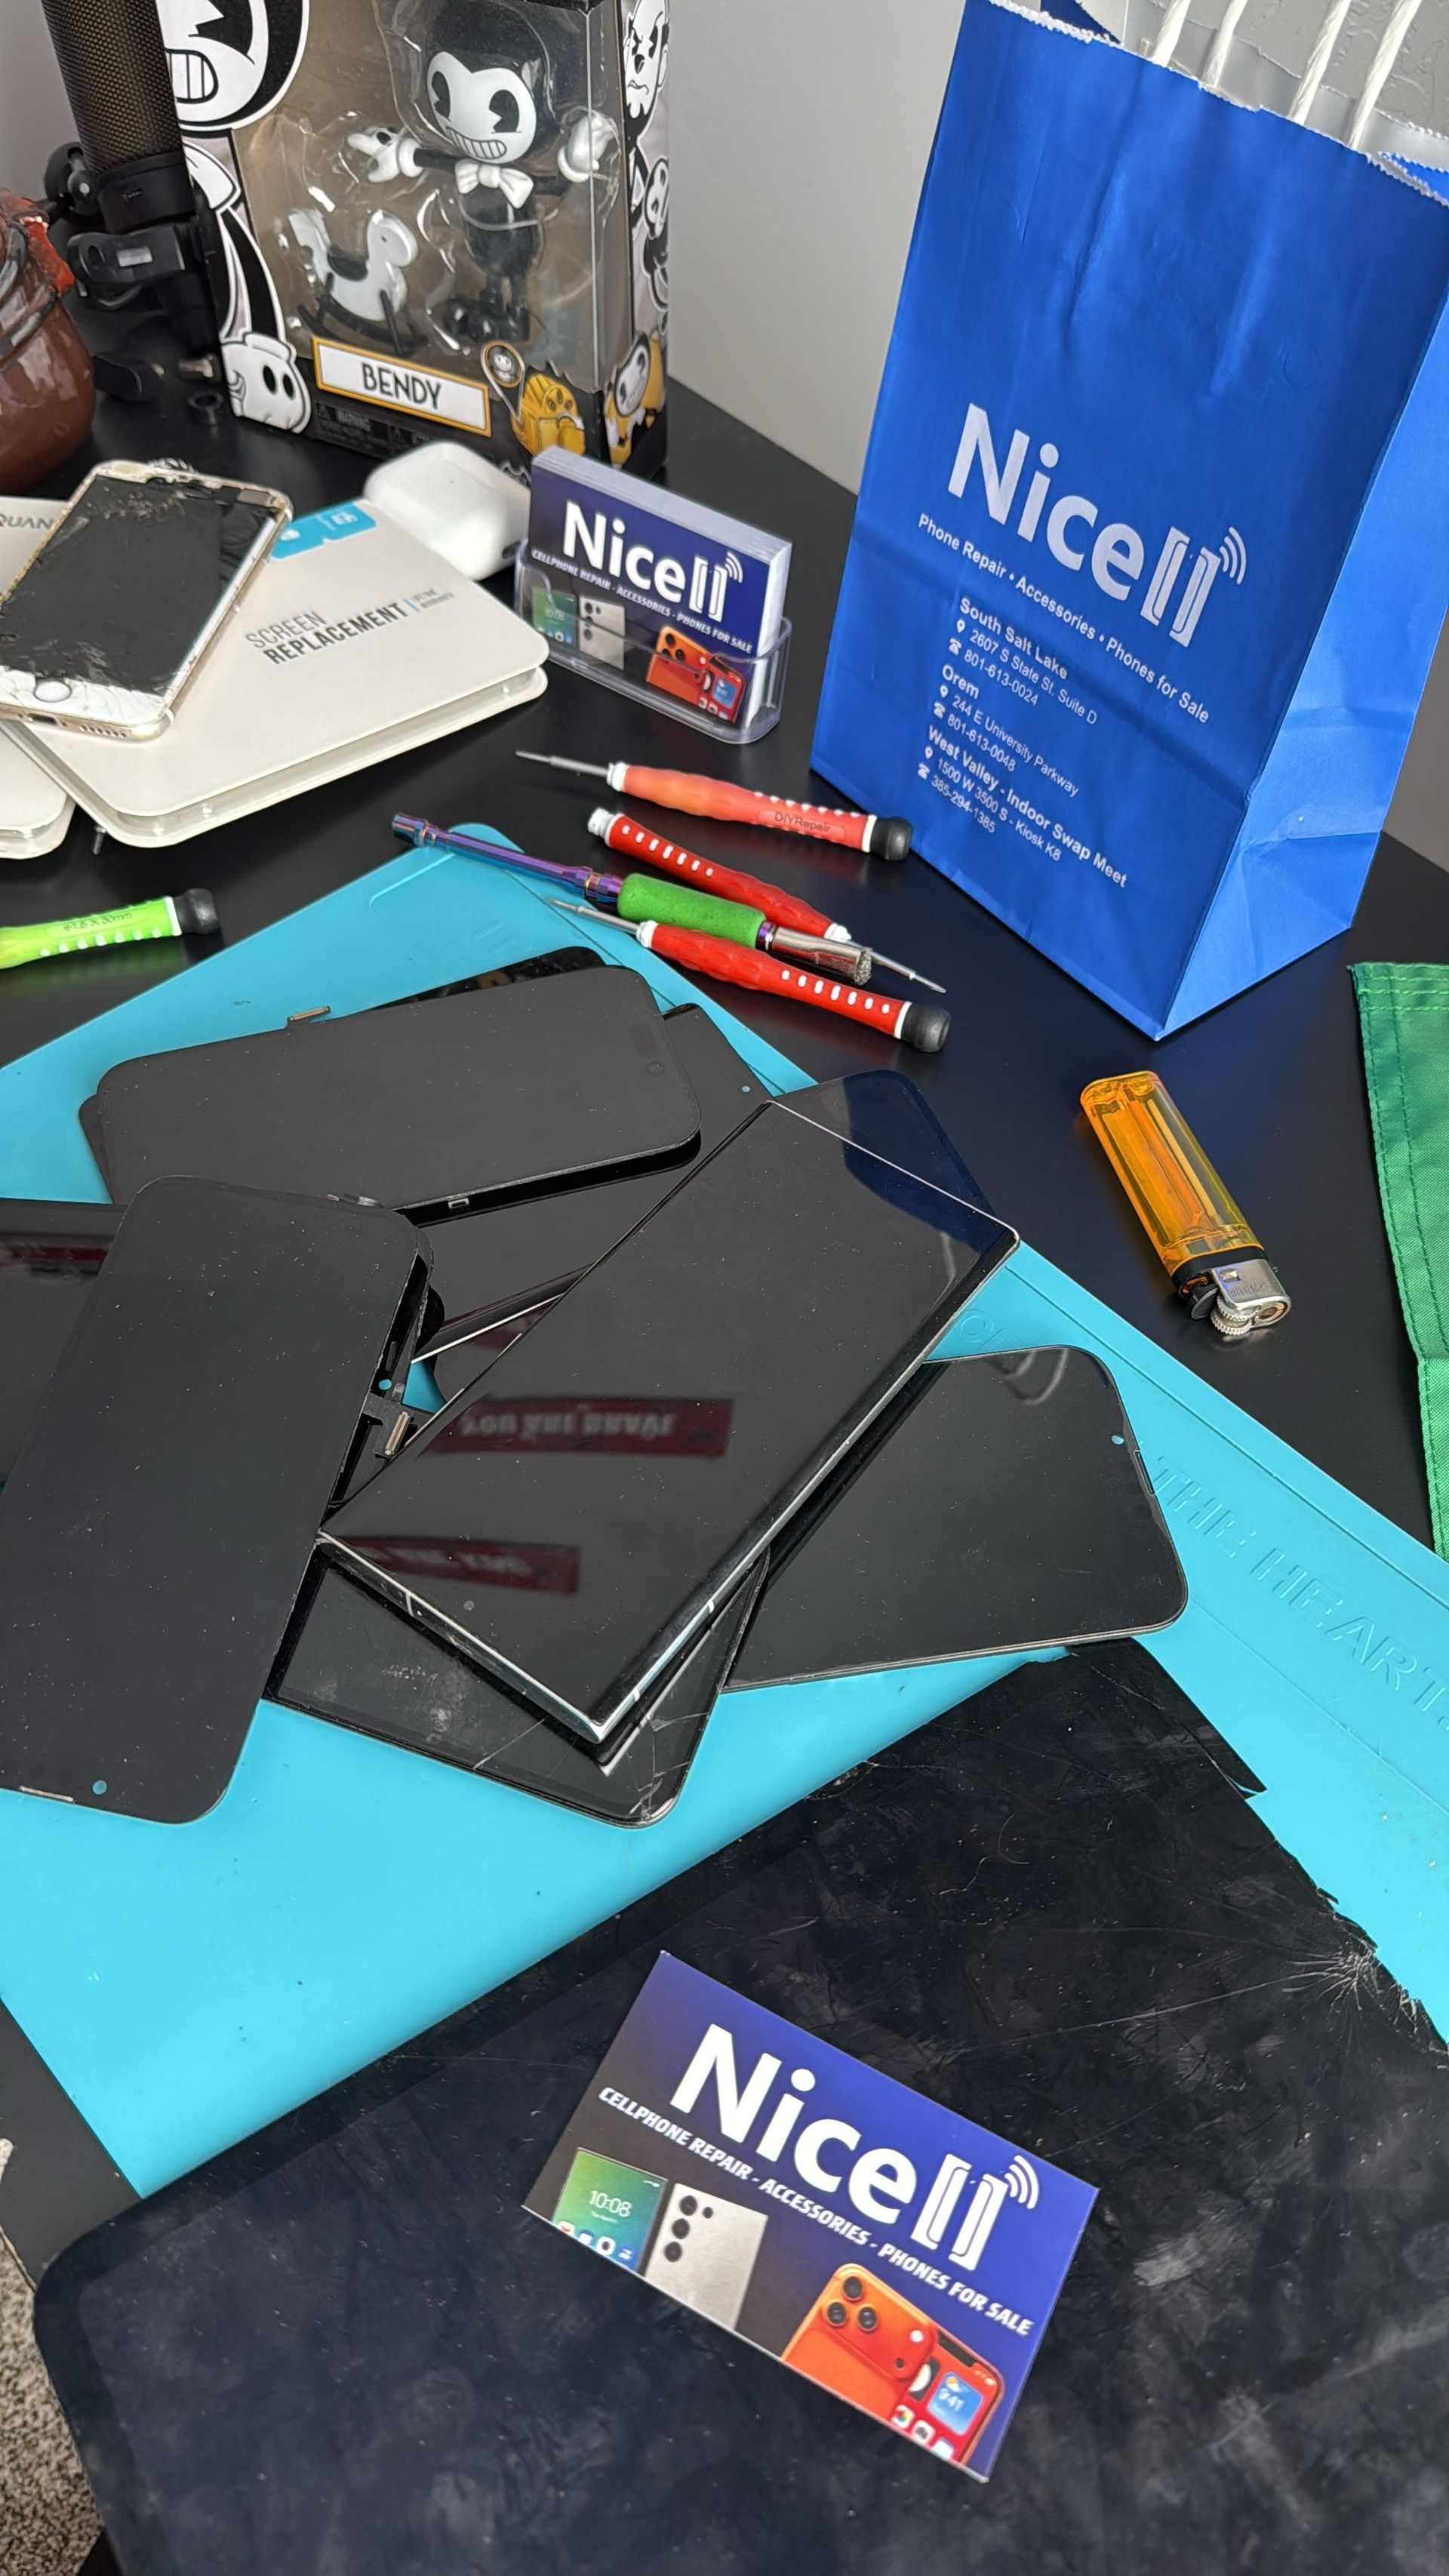
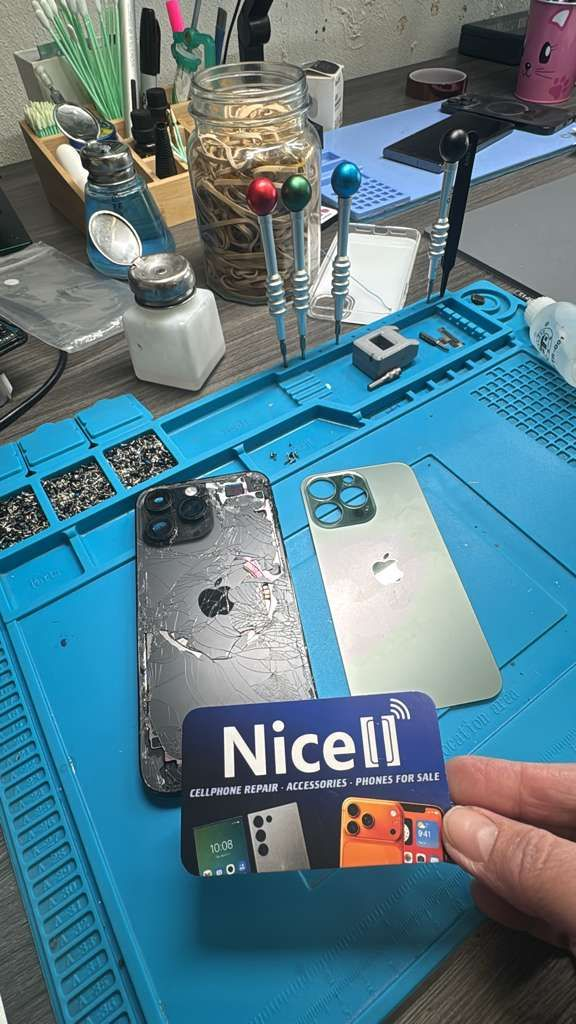
If your hinge repair seems complicated or you’ve encountered additional issues during the process, don’t hesitate to reach out to the experts at Nicell Wireless. Our skilled technicians in Salt Lake City specialize in all sorts of repairs, from laptops to gaming systems, ensuring that your devices are in the best hands.
Final Thoughts
Repairing a broken laptop hinge can be a rewarding DIY project, but it’s not always a walk in the park. Nonetheless, with the right tools and a bit of confidence, you can extend the life of your laptop and avoid a hefty repair bill. And remember, if you ever find yourself needing expert assistance, Nicell Wireless is just a call away! Happy repairing!