Cracked Laptop Screen? DIY Repair Guide
Hey there, tech enthusiasts! If you’ve stumbled upon this blog, it’s likely that you’re dealing with one of the most frustrating incidents a laptop owner can face: a cracked screen. At Nicell Wireless, located right here in Salt Lake City, we understand how vital your laptop is for work, study, or gaming. Don’t fret—before you decide to throw in the towel and buy a new one, why not give DIY repair a shot? Let’s walk through a step-by-step guide to help you tackle that cracked screen like a pro!
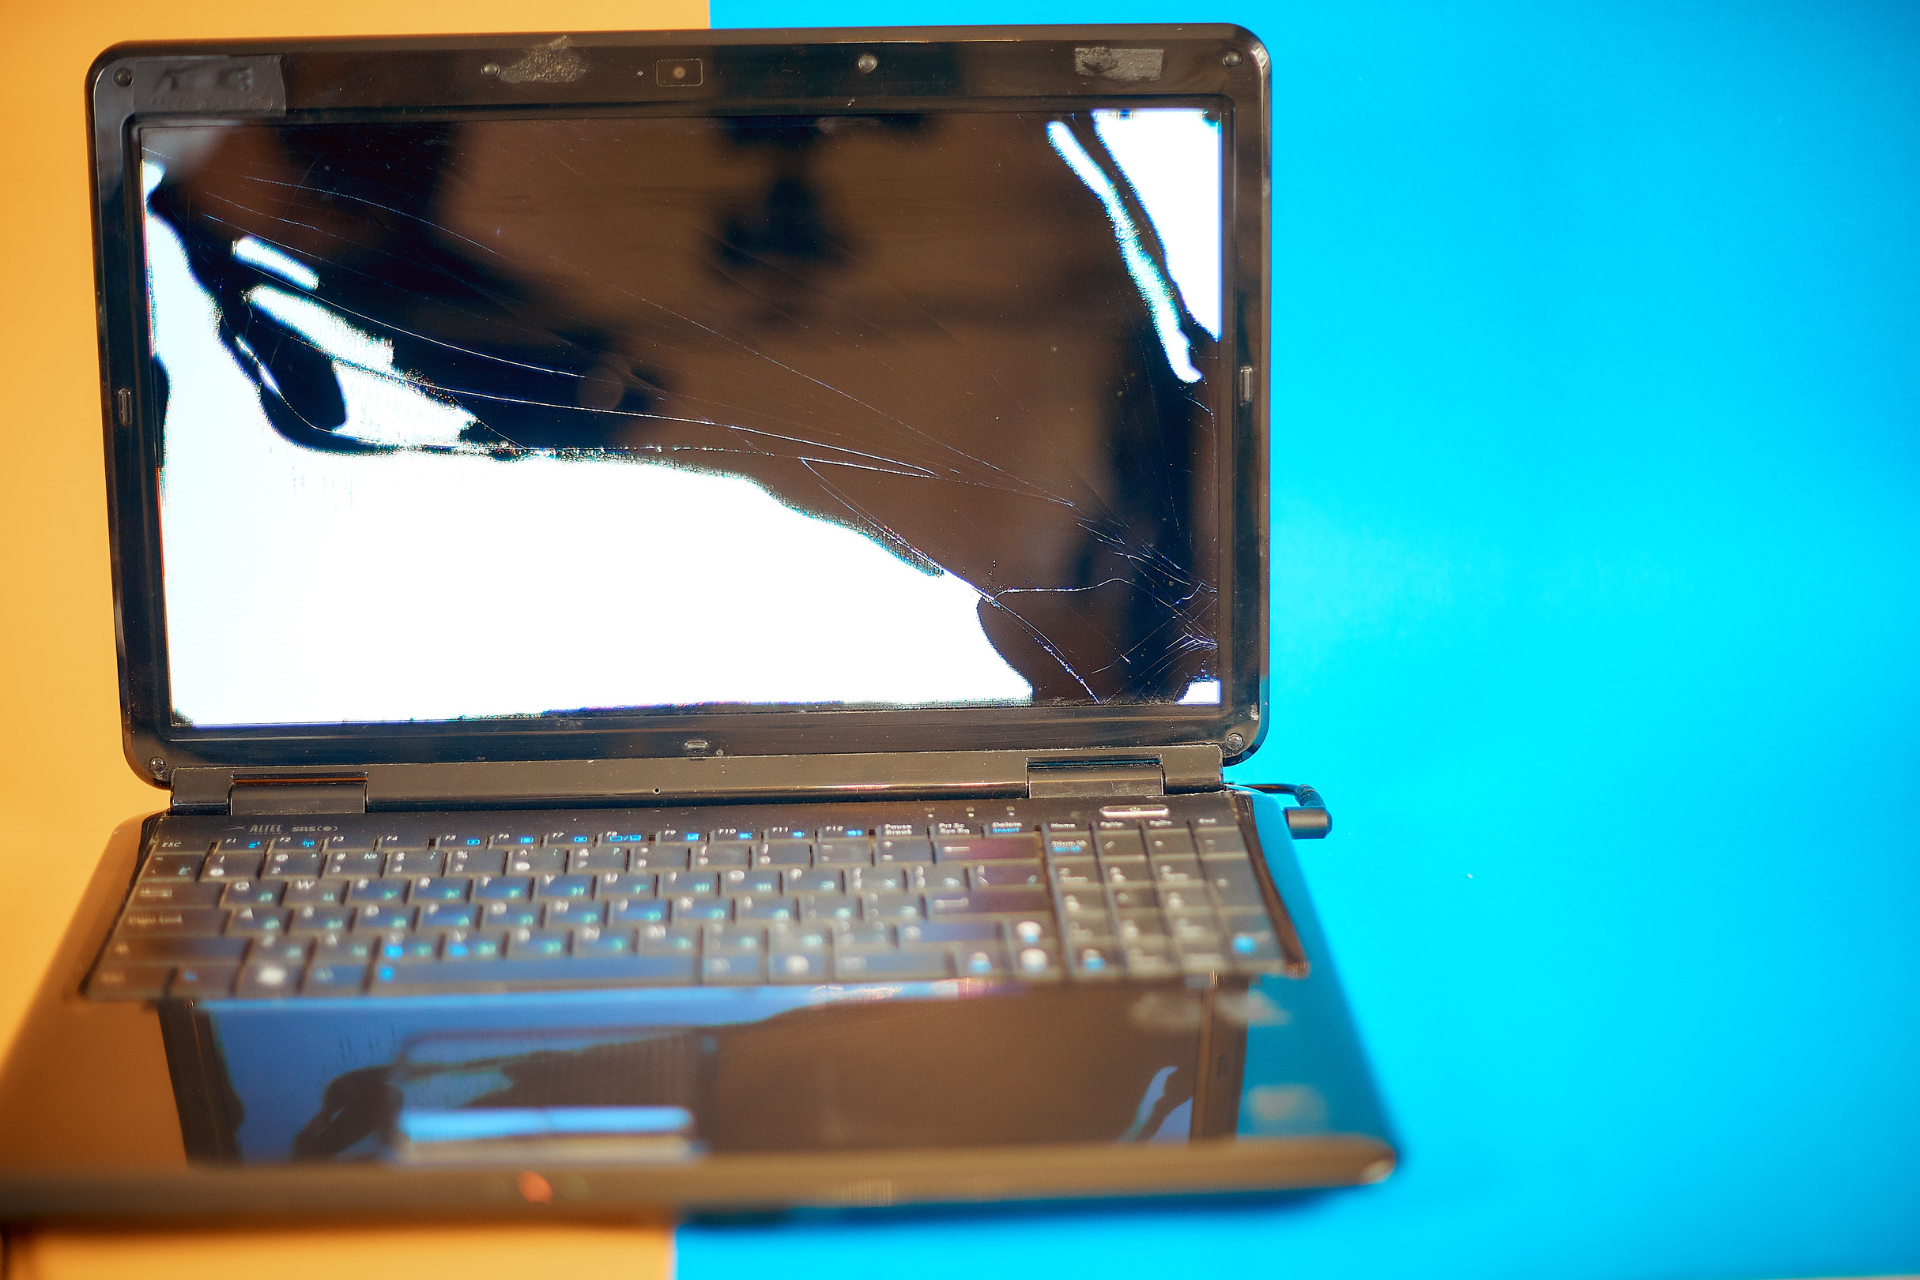
Assess the Damage
First things first, take a good look at your laptop's screen. Can you still see the display, or is it completely black? If the screen is only cracked without any substantial damage to the display itself, you might have a good chance at a successful DIY repair. Just remember, this guide is for minor cracks. If you notice any substantial damage, it might be best to seek professional help - and we’re here for you at Nicell Wireless!
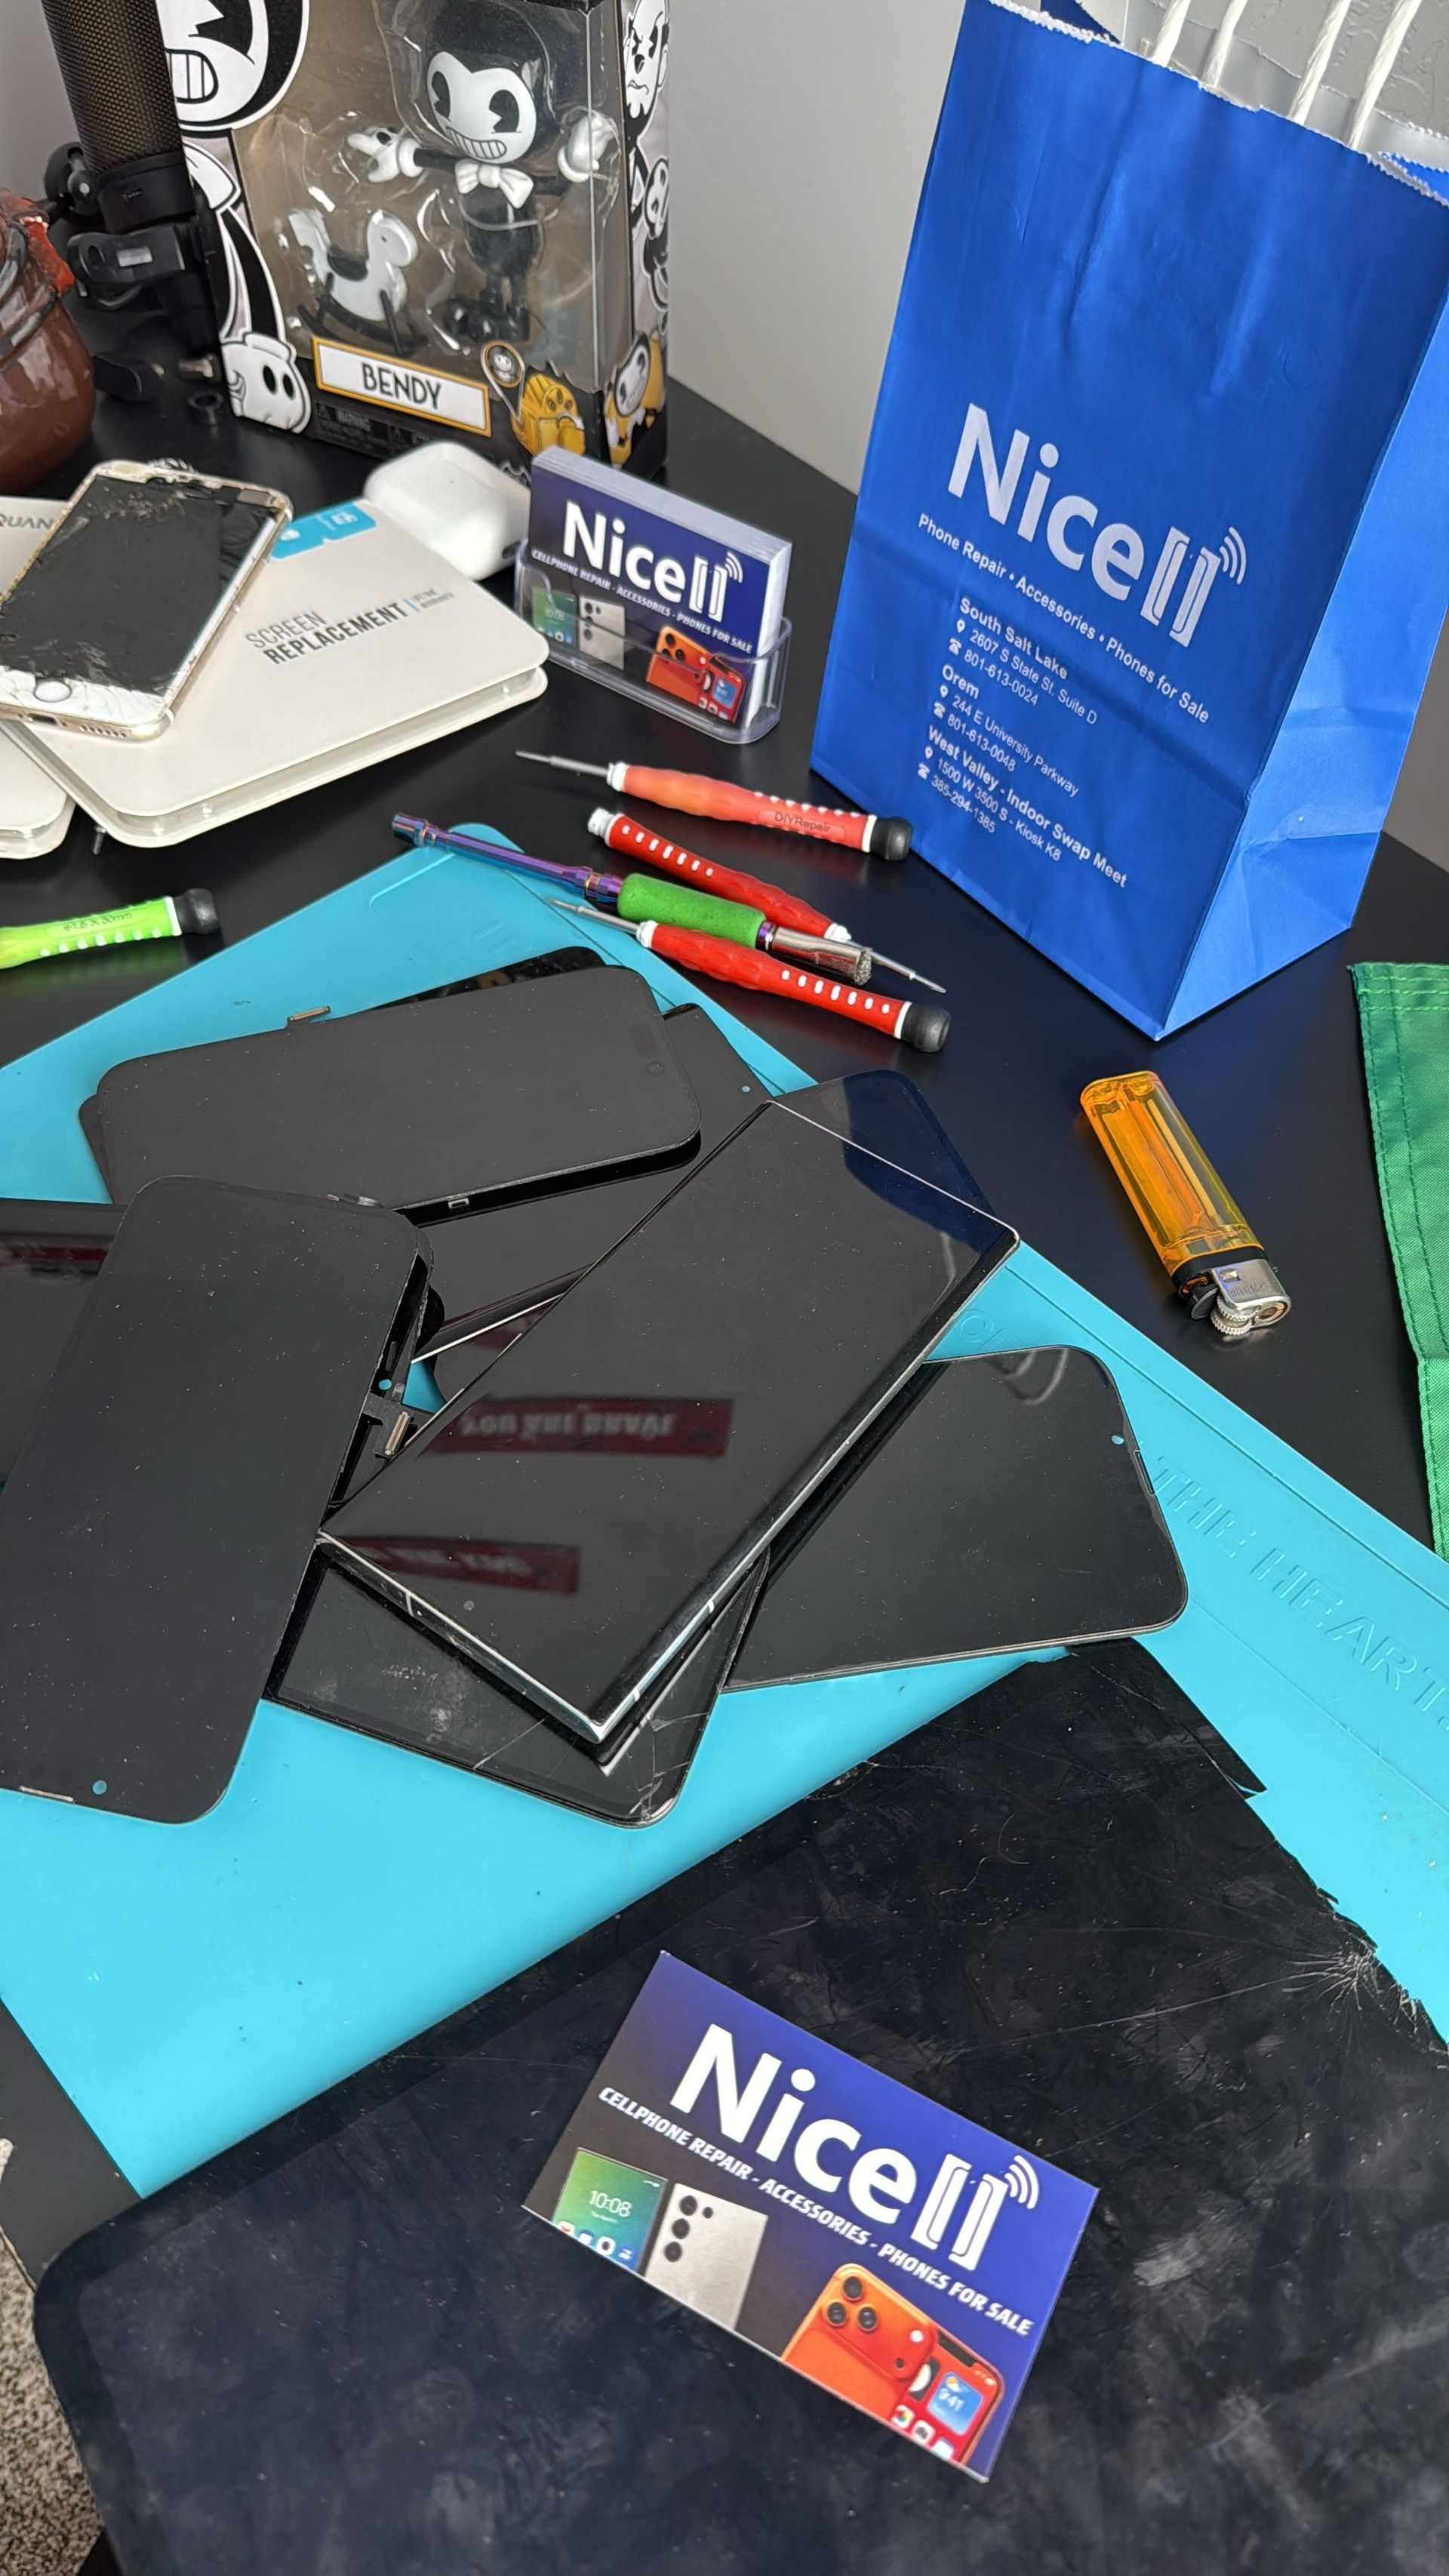
Gather Your Tools
Here's what you’ll need for the repair:
- A replacement screen (make sure it’s compatible with your laptop model)
- A screwdriver set (usually a Phillips-head will do the trick)
- Plastic spudger (for safely prying open the laptop)
- A clean workspace with good lighting
- Safety glasses—better safe than sorry!
Step-by-Step Replacement
1. Power Down and Disconnect
First, ensure that your laptop is turned off and unplugged. If it has a removable battery, take that out too. Safety first!
2. Remove the Bezel
Using your plastic spudger, carefully pry the bezel (the frame around the screen) off. There might be some clips holding it in place, so go slow to avoid breaking anything.
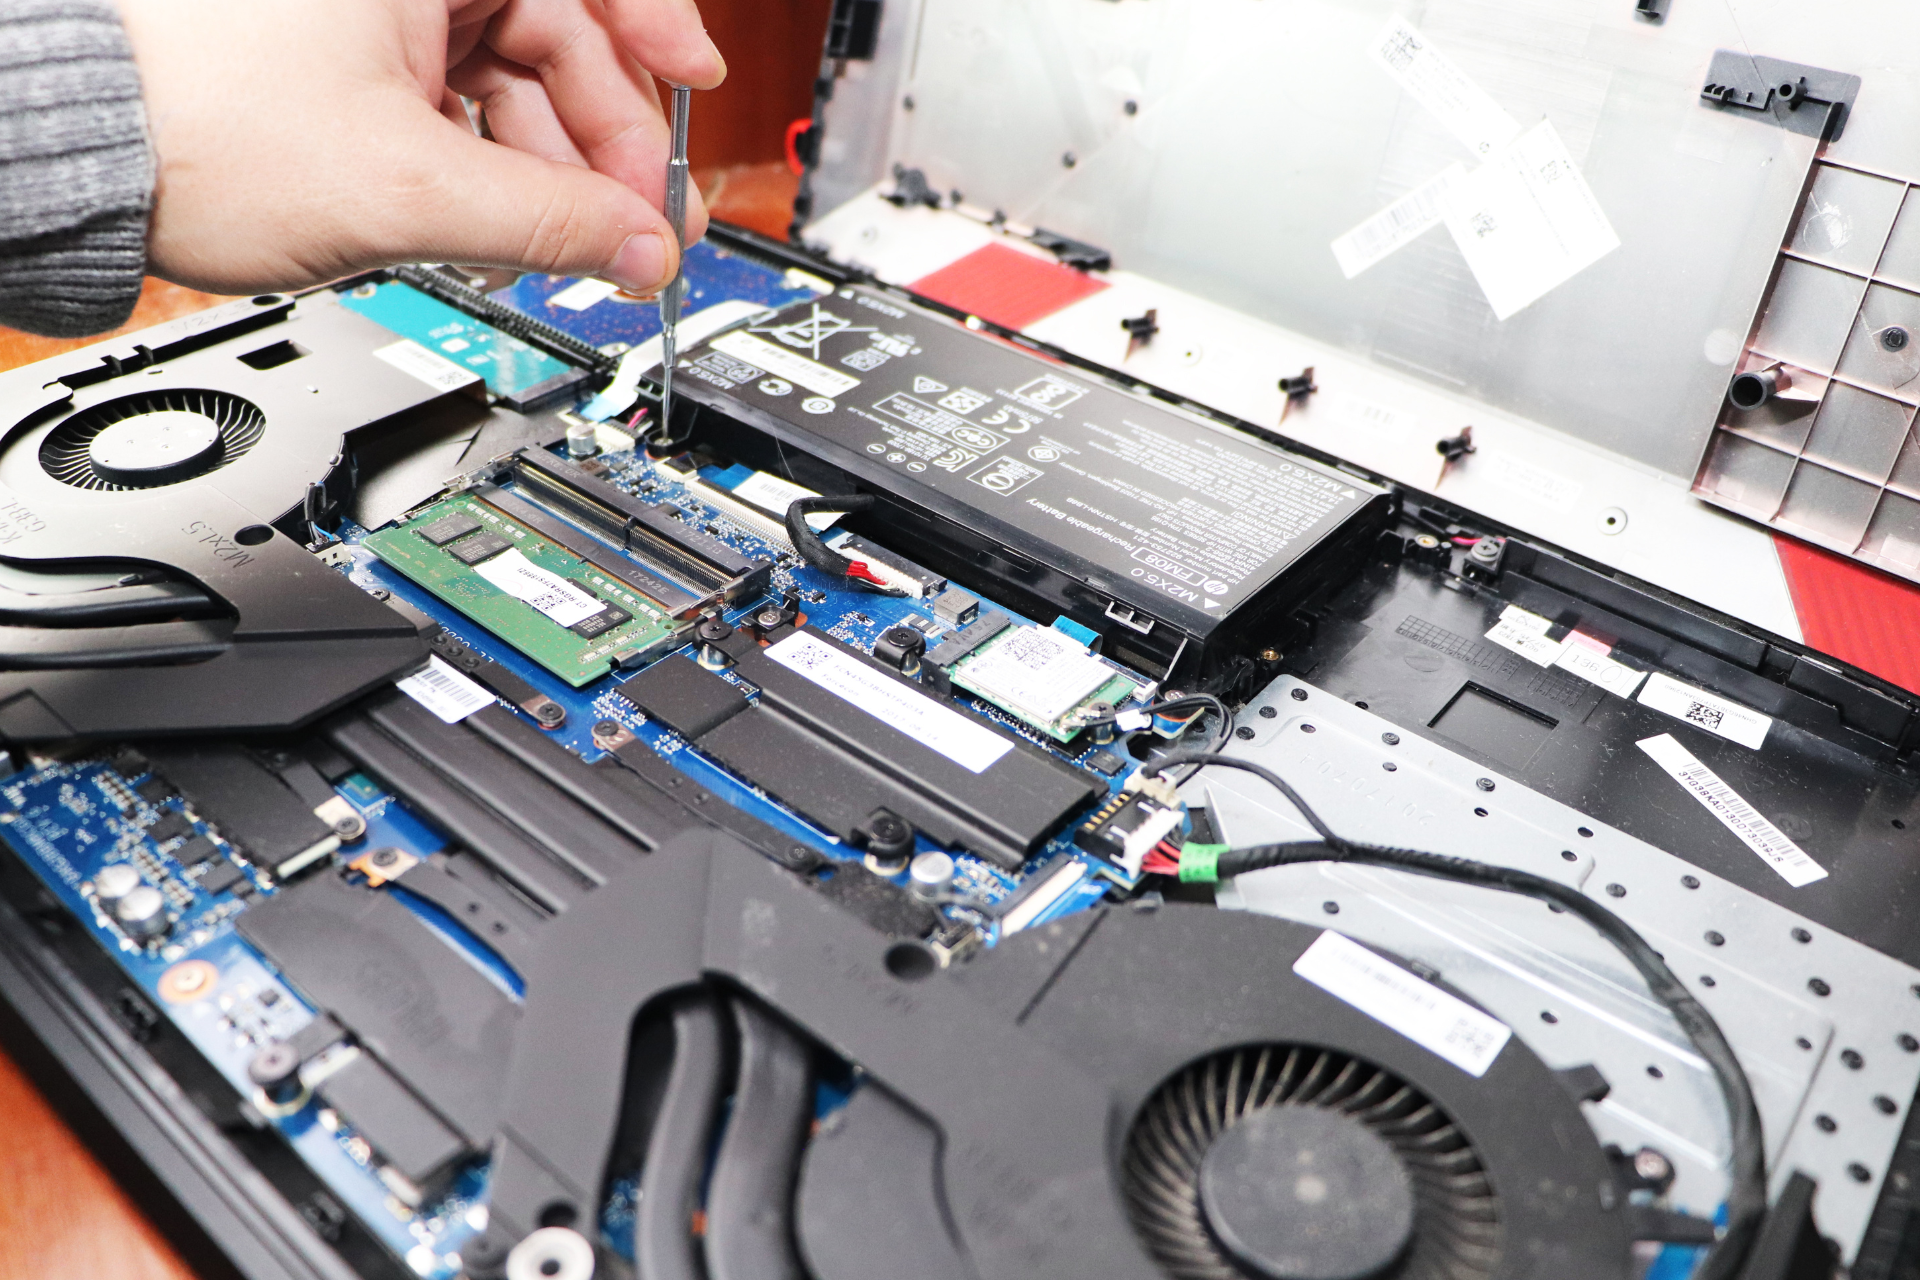
3. Unscrew the Screen
Locate the screws that hold the screen assembly in place. Remove them carefully and set them aside—don’t lose them!
4. Disconnect the Screen
Gently pull the screen forward until you can see the video connector at the back. Disconnect the cable by gently wiggling it until it comes loose.
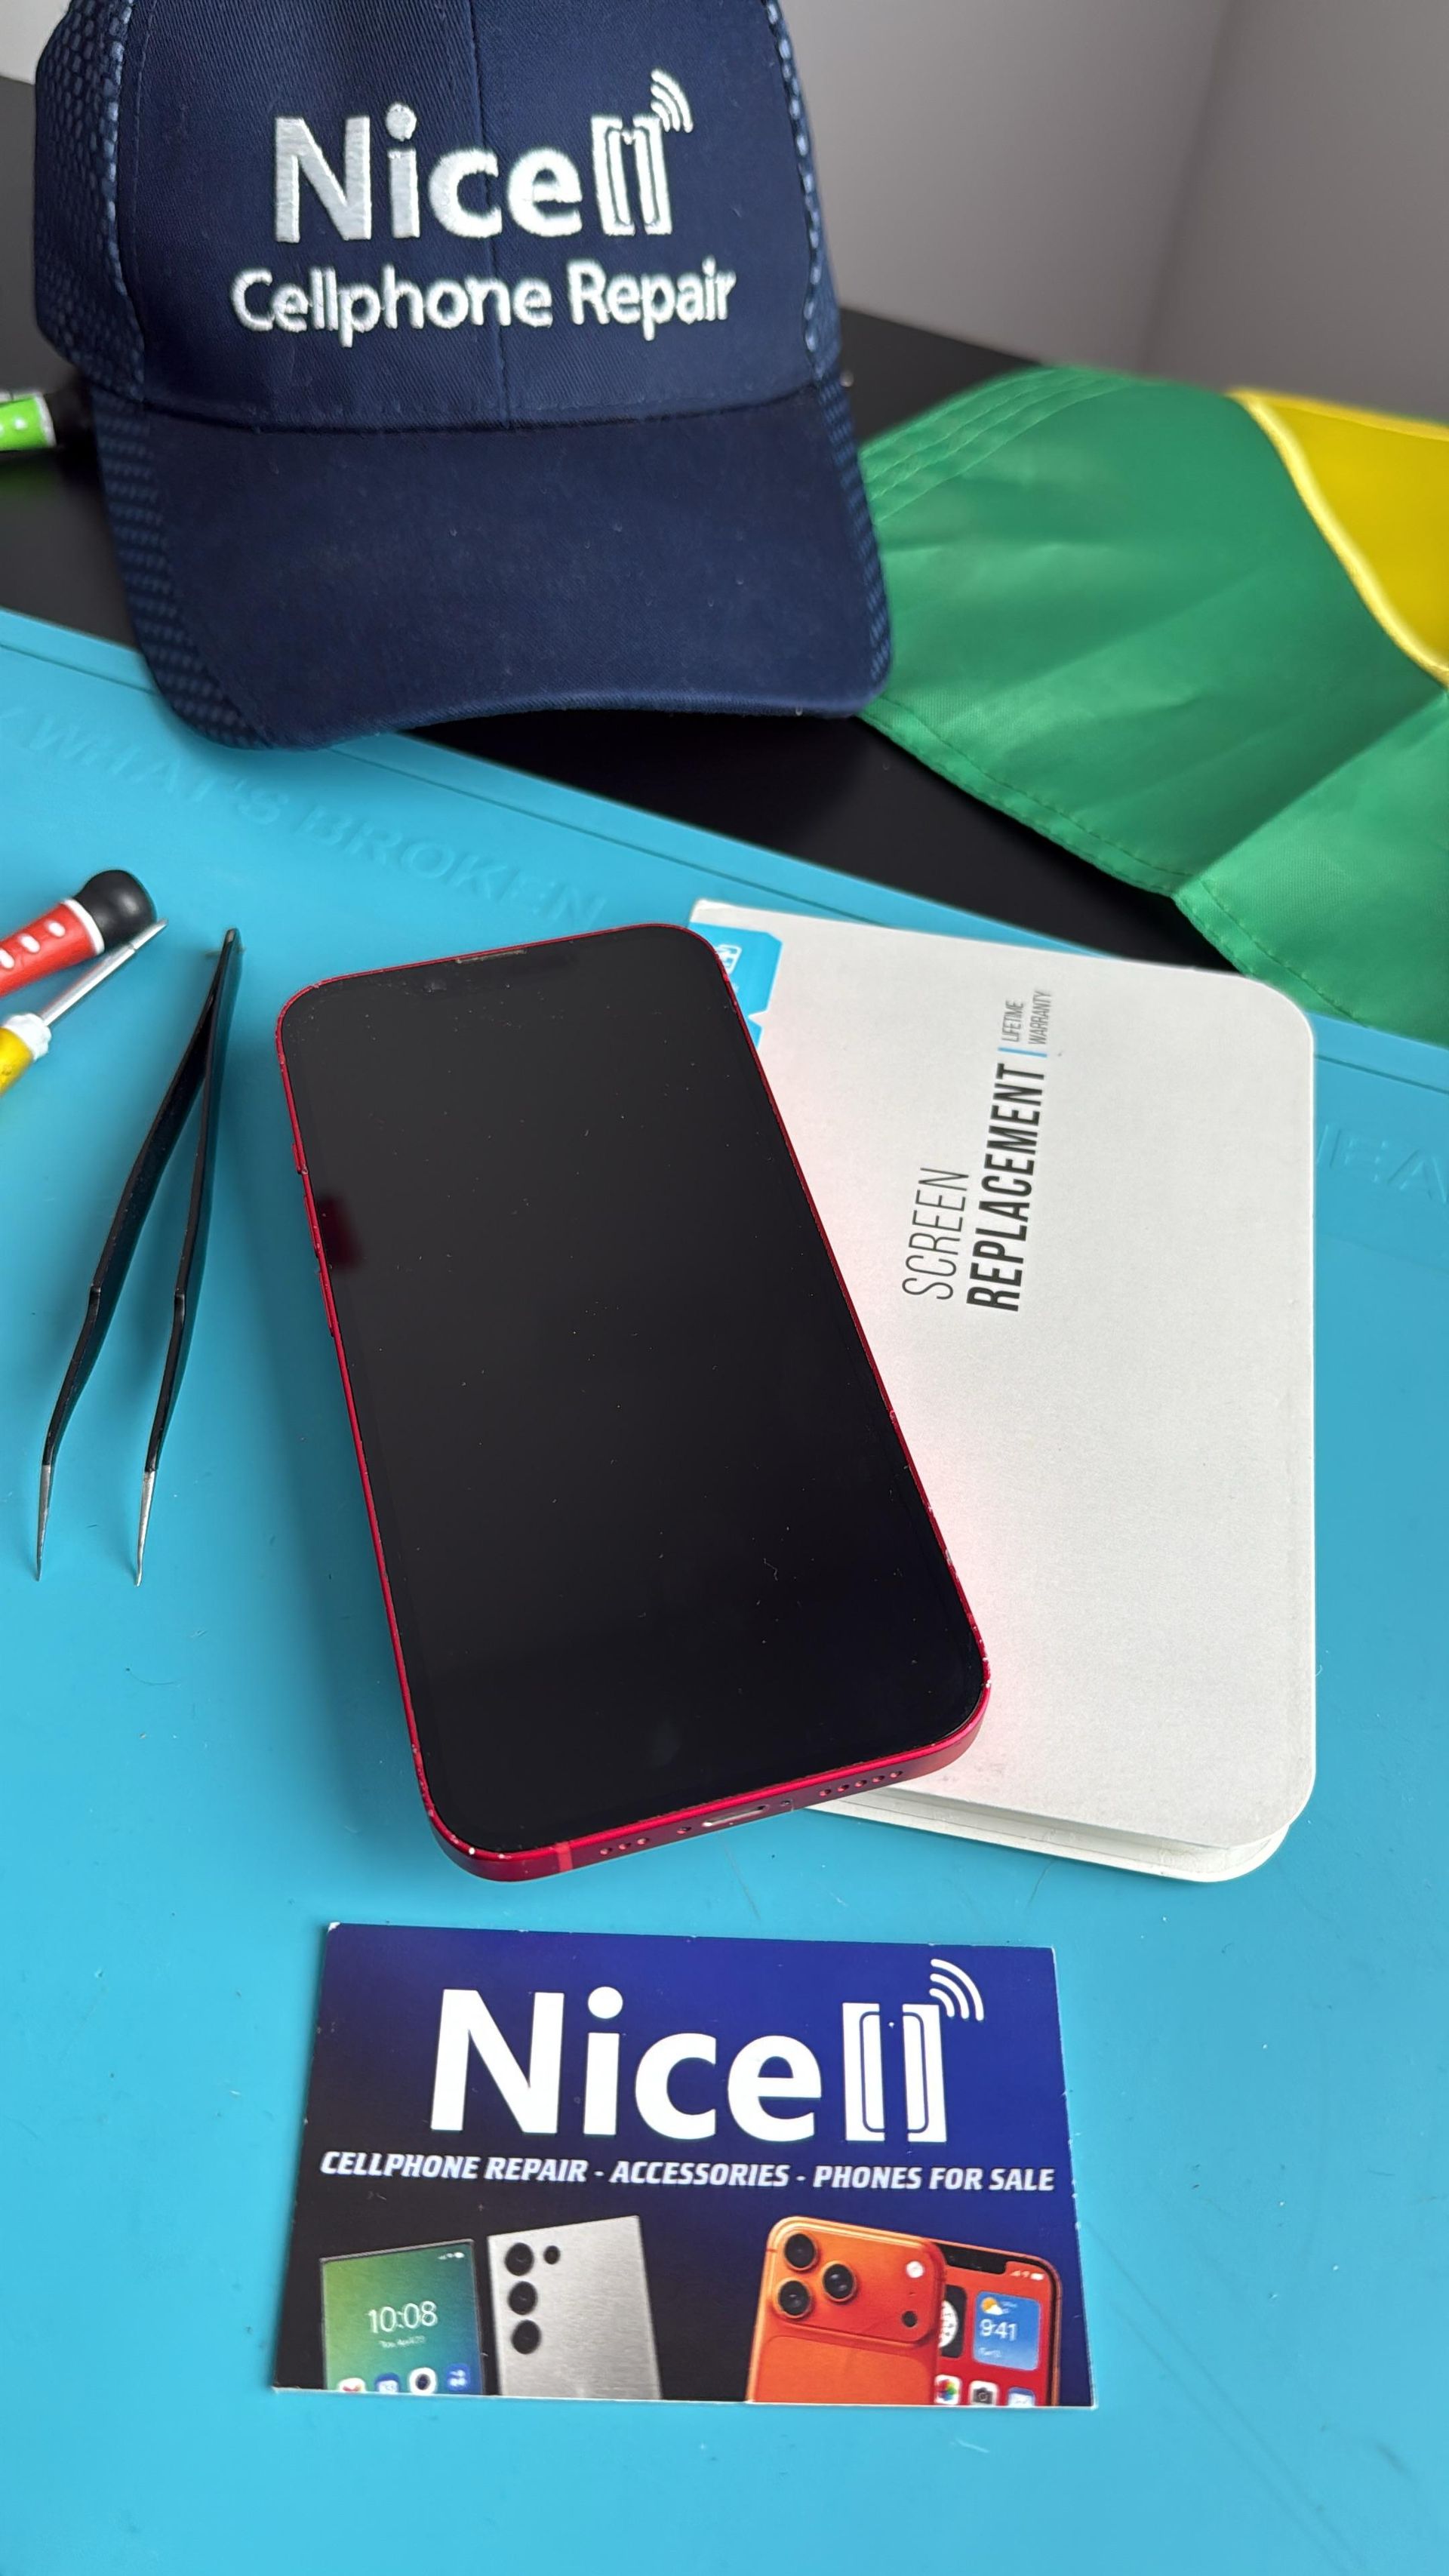
5. Attach the New Screen
Take the replacement screen and connect it to the video cable, ensuring it’s securely attached. Then, align the screen with the hinges and replace the screws you removed earlier.
6. Reattach the Bezel
Snap the bezel back into place, making sure all clips are secure.
7. Power Up and Test
Reinsert the battery if applicable, plug your laptop back in, and power it on! Fingers crossed that everything is in working order.
Final Thoughts
And voilà! You've successfully replaced your cracked laptop screen. It’s an empowering experience to fix your own device, but remember, not every repair needs to be a DIY project. If you run into issues or simply prefer to leave it to the professionals, Nicell Wireless is just a call away. We specialize in fixing laptops and all kinds of devices right here in Salt Lake City.
Whether you need a quick screen fix or want to explore our selection of unlocked phones and mobile plans, we’ve got your back. So, next time you’re about to close that laptop lid and say goodbye, remember that a repair might just be a few steps away!
Happy repairing, and see you at Nicell Wireless!